Building DIY Camper Van Cabinets
Building custom cabinets was the lengthiest part of our van conversion. Building cabinets in general are something quite challenging, and in a van that isn’t square this task is even more daunting. From finding the angle, getting the cabinets square inside the van, and a proper paint job, building campervan cabinets as a beginner can be quite overwhelming. Moreover, unlike a brick and mortar house your home on wheels needs to withstand great pressure from the constant vibrations of the road. Cabinetry done wrong can ruin the way your van build functions and looks, so it’s something you want to get right the first time…
Whether this is your first set of campervan cabinets or you are here to get some extra tips, this blog will help you to make the process as smooth as possible.
Map out your van layout
It’s important to consider all of the ‘must-haves” and to weigh out the needs for storage; for examples, do you want a chest-style or upright refrigerator? How many pots and pans are needed? Do you use an Instant Pot or Air Fryer (like us)? Will the cook-top be stowed away when not in use?
All of these answers really depend on the purpose of your van. Maybe it’s a full-time off-grid rig or maybe it’s just a weekend camper that only needs room for a few things at a time. Custom cabinets have to take the dimensions of your appliances into account. Before you even think of cutting into your first piece of wood, the first step is to map out what your vans layout is going to be.
Build the frame first
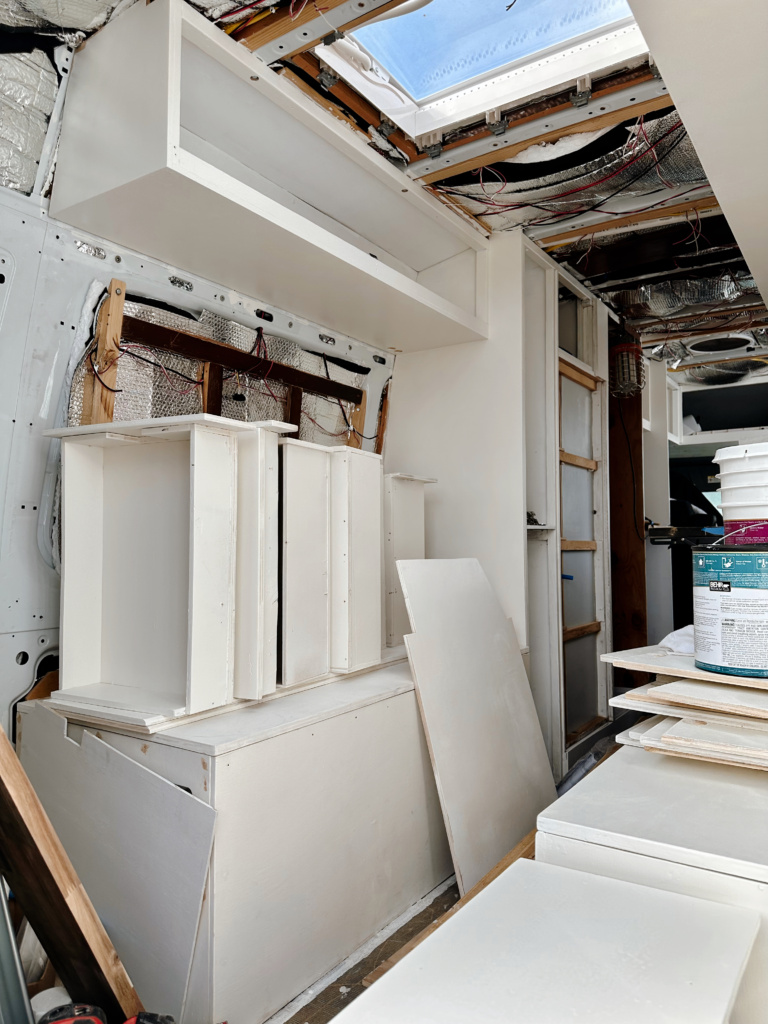
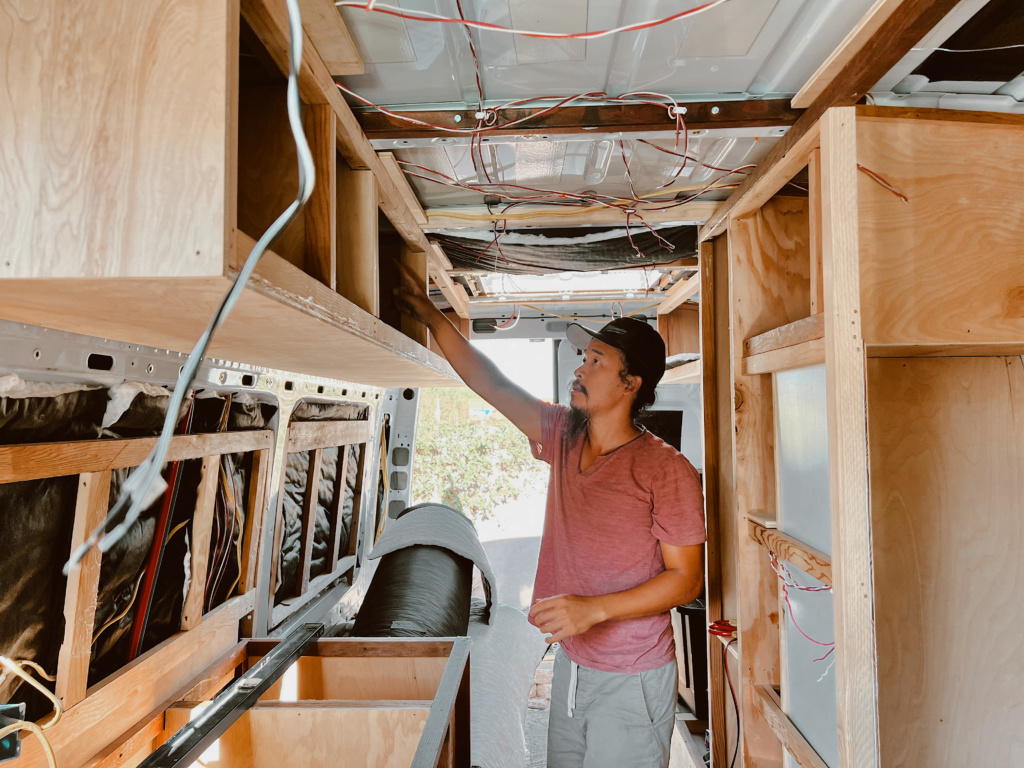
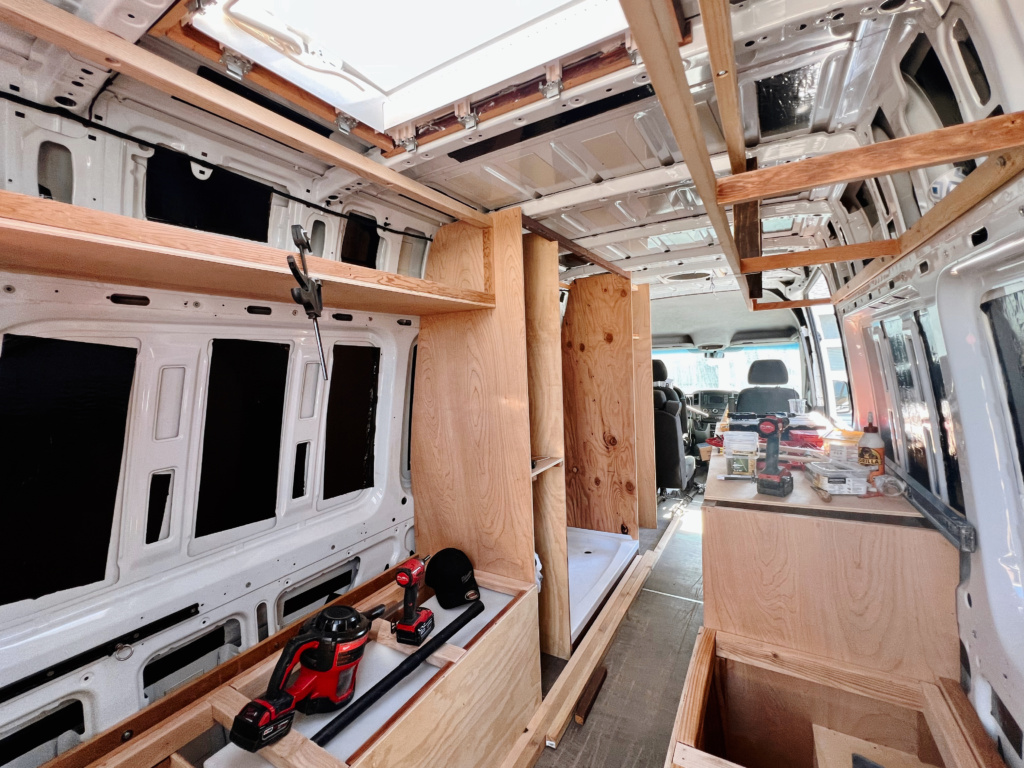
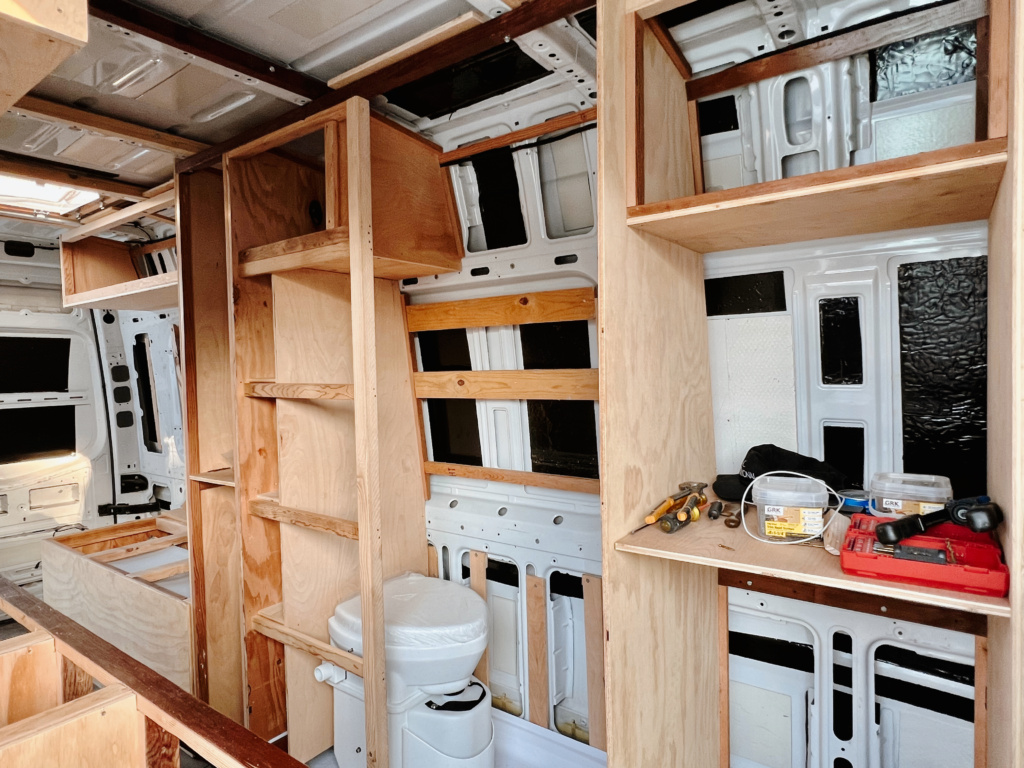
After the dimensions have been finalized, we built the cabinet frames using 1×2 and 2×4 pine lumber. The basic idea is building some sturdy frames in place and slap some plywood faces on it.
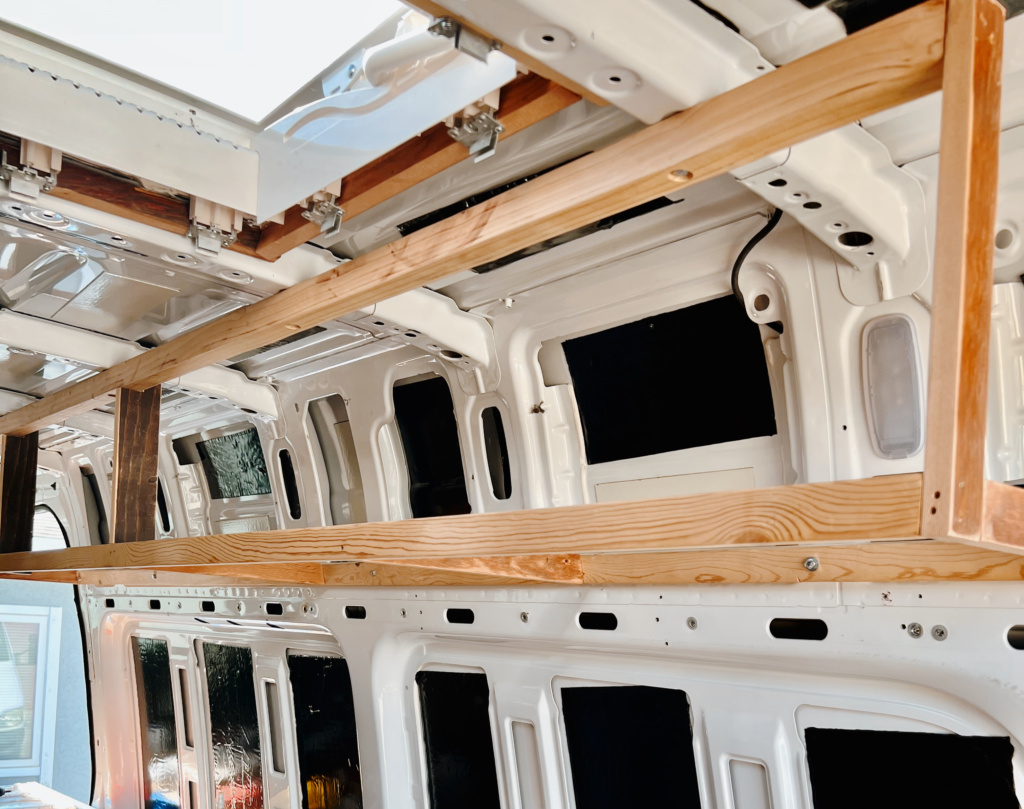
For the upper cabinets, we attached 2 pieces of 2 x 2 pine lumber to the body of the van. These pieces of lumber were our main anchoring points for the upper cabinets. One piece was installed on the ceiling where the top-front of the cabinet was going to be. The other was installed on the wall where the bottom-back of the cabinet was. The two ‘anchoring’ strips of lumber were then connected with some L-shaped support frames, essentially forming a square with the body of the van.
Choose the Right Material
The next step is to decide what you want your cabinets to be made of. Choosing high-quality, strong materials that are able to withstand such pressure, as well as temperature swings, is imperative in having a long-lasting build that can handle all the roads you’ll encounter. The main materials to consider here are: types of plywood, latches, drawers/sliders, gas shocks, hinges, and paint/stain.
Plywood
Plywood comes in different types and grades. Since cabinets are both a main visual element and need to be structural, don’t opt for the cheapest plywood you find. Plywood is graded A though D; A being the highest quality and D being the lowest. Then there are different types of plywood, the most common being CDX, sanded pine and Baltic birch. CDX is the lowest grade and can withstand some exposure to moisture, it’s most commonly used to sheet houses and is not what you want for your van cabinets. Sanded pine is a good choice for your vanlife cabinets. It’s not to hard to find at most big box stores, is usually A or B graded and is much stronger then CDX. Baltic birch is top shelf plywood and can be found at specialty stores. Its quite pricey and comes in 5’x5′ sheets, but is the finest grade and the strongest option. We use sanded pine plywoods for our cabinets.
Plywood will be found in a nominal thickness such as 1/4″, 1/2″ or 3/4″. This is how we used different-thickness plywoods for different parts of the cabinets
- ¼ Plywood – This size of plywood is used for the backs of the boxes and bottoms of the drawers.
- ½ Plywood – Was used to build the frame of all the cabinet boxes and the sides of the drawers.
- ¾ Plywood – All of the doors and drawer fronts were made using the thick ¾ plywood.
It’s also a good idea to us some sort of sealant to help prevent deterioration and mold growth. This is also important for the large temperature swings you might experience in your van. You don’t want your cabinets to swell or shrink with changes in temperature, which can happen with wood that isn’t sealed. This is an important consideration that will improve the longevity of your cabinetry.
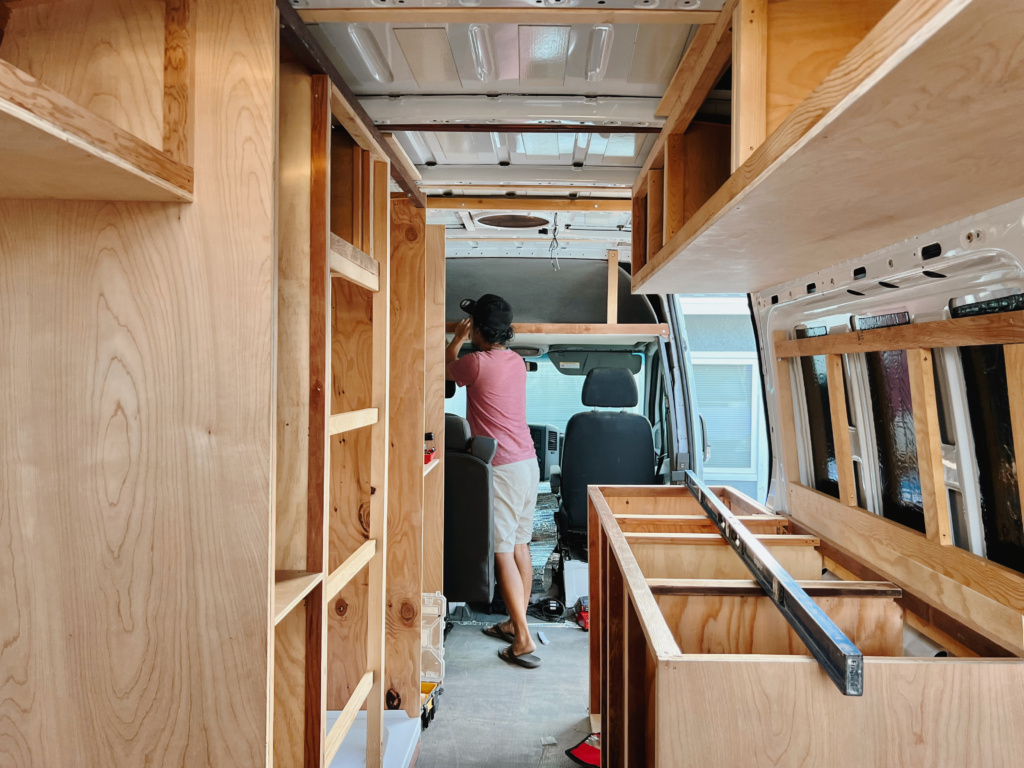
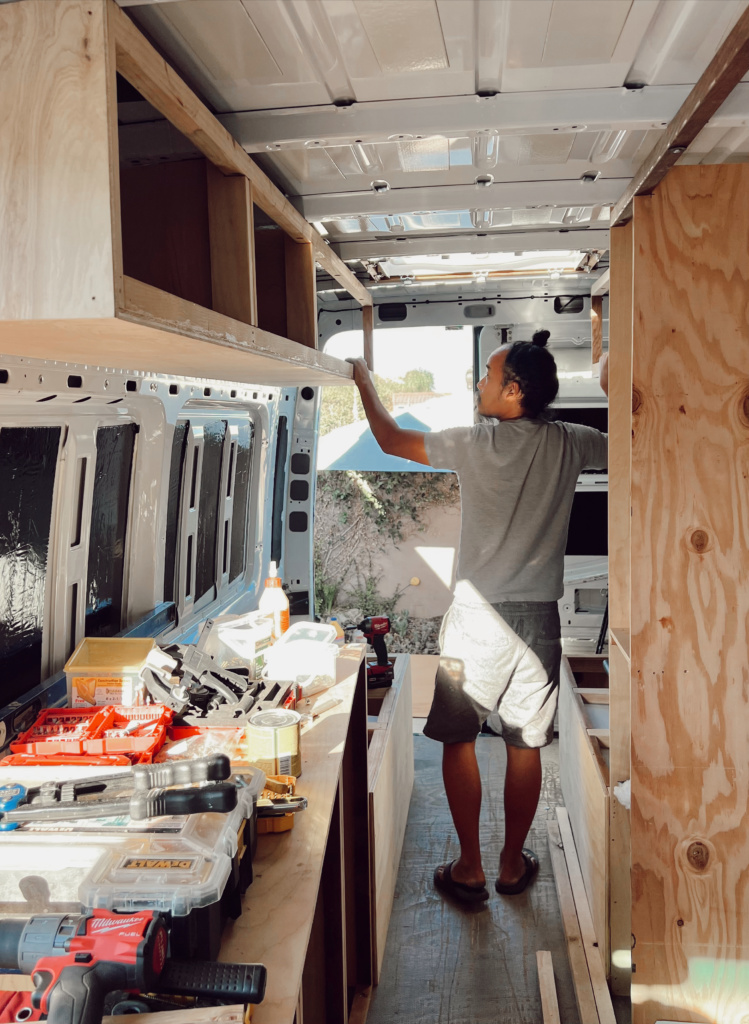
Anchoring
Anchoring your cabinets to your van is very important because they will become deadly projectiles in the event of a crash. Rivnuts or Plusnuts are threaded inserts that allow you to bolt stuff directly to the metal of you van. A great way to securely anchor cabinets, especially on the walls and ceiling.

Once everything is square, attach the assembled frames to multiple points on the van. All of our cabinetry is attached to the studs we added during the construction of our framing. Each stud is in turn, fastened directly to the body of the van.
Latches
The other important part of your cabinetry is the latches that will prevent your cabinets from opening while you are driving. Having all your stuff come flying out of your cabinets when you hit a bump or turn a corner (even on smooth roads) happens more often than you might think. A good latch will always have a positive stop mechanism. The best kind will automatically release and re-latch by themselves so you never have to remember to latch them. That’s why we choose Slam Latch!
Painting
Now when it comes to painting, the key is in the prep, materials and technique! First things first, you’ll want to give your plywood and any other cabinet materials a good sand. After you sand, you’ll want to brush/wipe off your pieces of wood to remove the residual sawdust you created when sanding. You’ll want to prime your bare wood before you paint. And you’ll want to invest in high quality rollers and foam brushes. Don’t use a traditional paint brush or you’ll see brush marks everywhere! Foam is the way to go for a smooth, clean finish.