Camper Van Insulation: The DIY Guide 2023
Insulating your van is important for the following 2 reasons: temperature control and noise reduction. By insulating a camper van with the proper materials, you can muffle drastic temperature swings in your van and keep your van warm during the cold months and cool during the hot summer months. Plus, it helps muffle noises from outside.
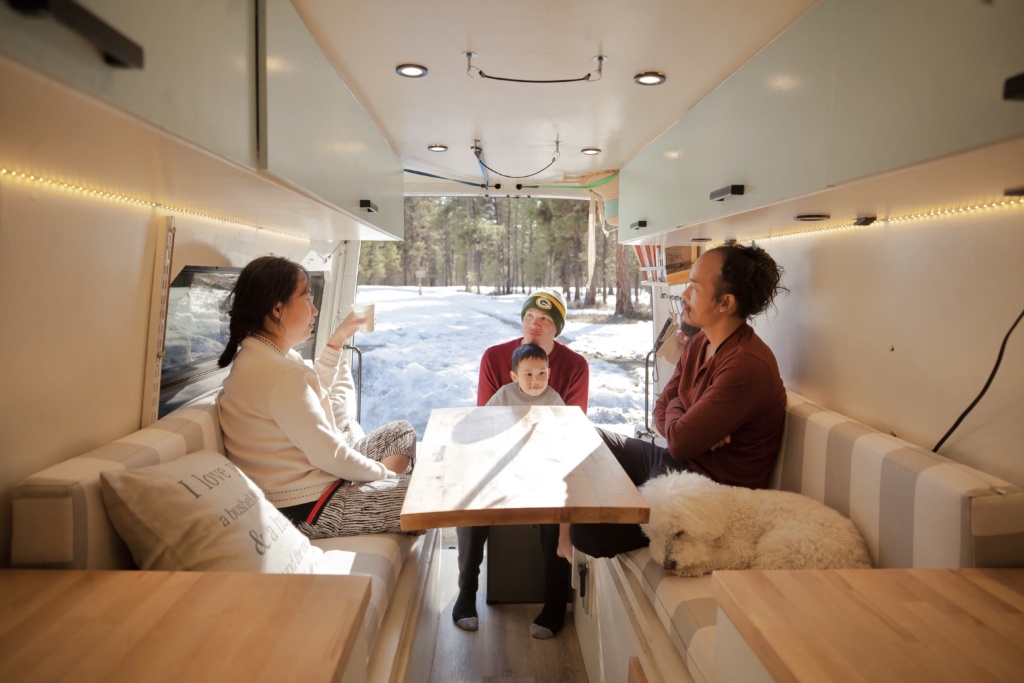
Everybody has their own camper van insulation strategy that works. But in our 3+ years on the road (and counting!), we know that our van has been insulated very well. We’ve parked up in frigid,high-altitude locations during harsh winter months and we were able to live comfortably in our van. Here is our guide to insulating your van!
When you’re standing inside your empty van thinking about how to tackle your camper van insulation project, the whole thing can feel daunting. But when you tackle each different part of the van separately, insulating the entire van feels much easier. Below are the five parts of the van worth insulating, including walls, ceilings, floor, water pipes and other minor weak points!
Walls
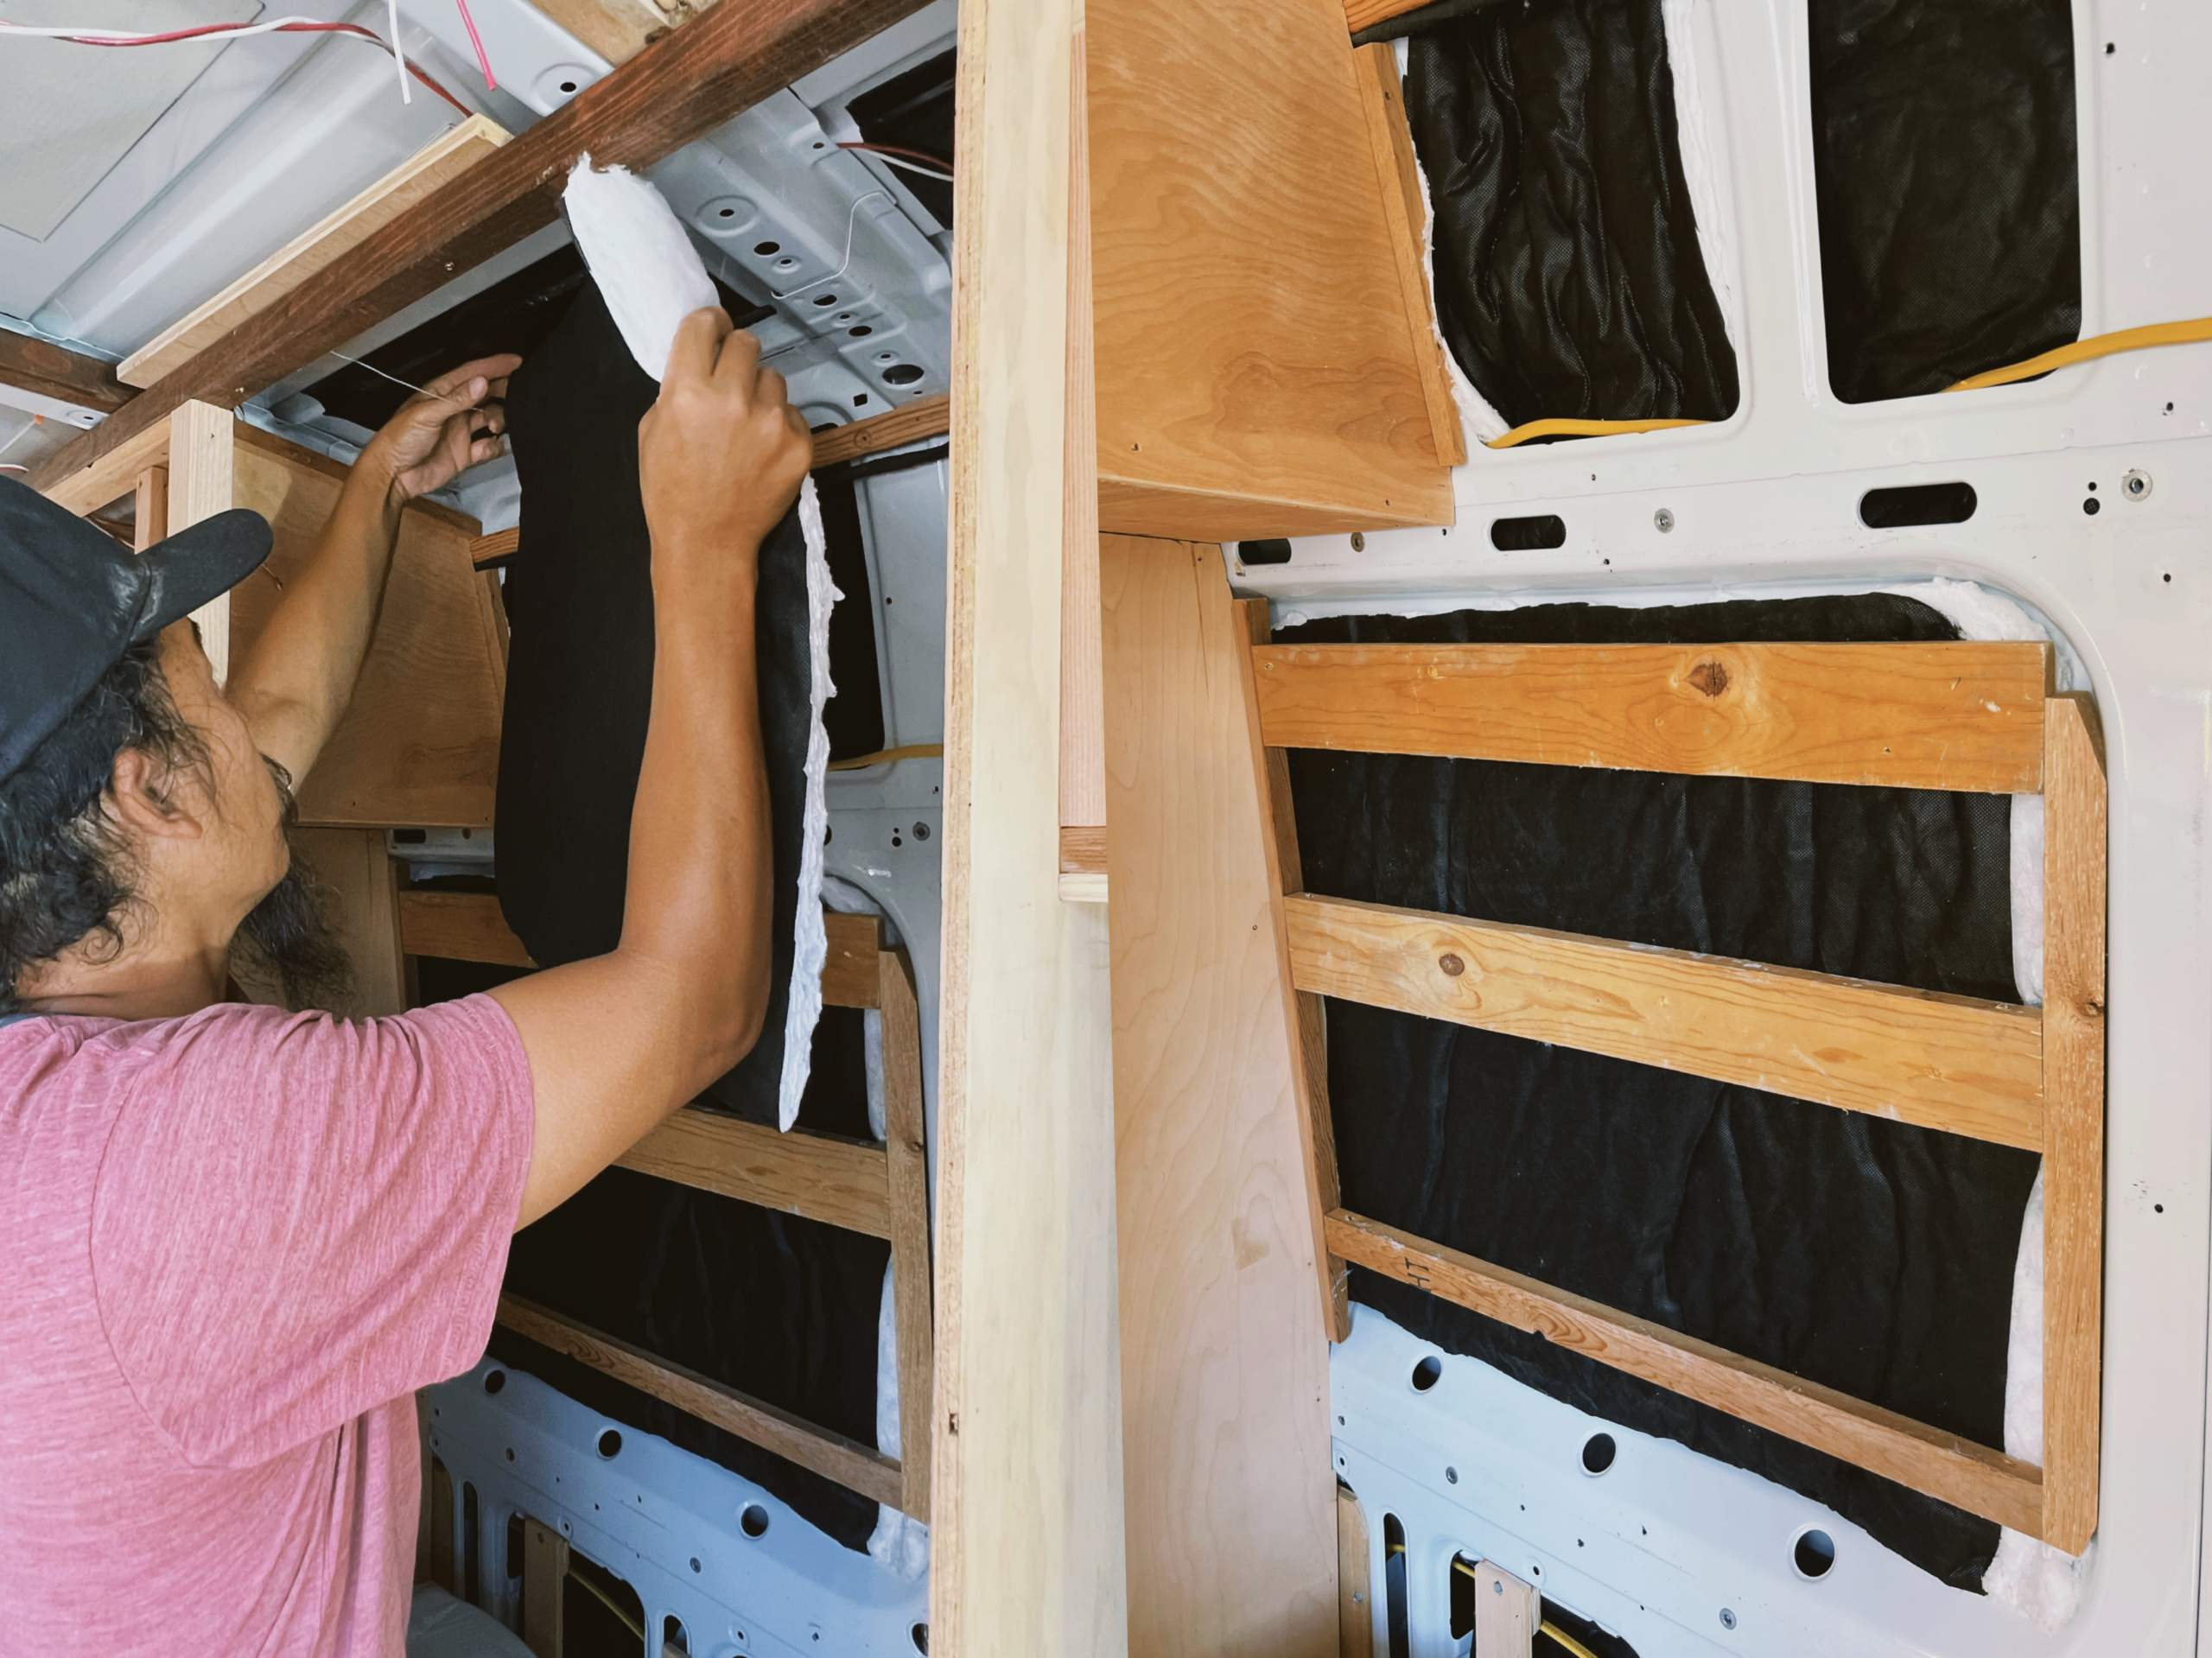
After 3+ years spent full time in our van we can definitely say that using 3M™ Thinsulate™ was a great decision. It has kept us warm during harsh winter (down to 0F-5F in Mammoth Lakes) and cool during summertime, and it is still in great condition after that time (no mold, no bugs, still holding in place). We think 3M™ Thinsulate™ is the best van insulation option and we decided to continue using 3M™ Thinsulate™ for this van conversion (which is our third one).
There are quite a few different products you can use to insulate your van. The r-value is the measurement of how well insulation combats heat. The higher the r-value the better a product is at insulating. The r-value of 3M™ Thinsulate™ is 5.2 (when expanded to 1 3/4 inch) so it is a really good insulator! Plus, it is so easy to install! It’s actually intended for vehicle insulation. You can cut it with scissors to whatever size piece you need. It’s the most expensive option for insulation, but for valid reasons.
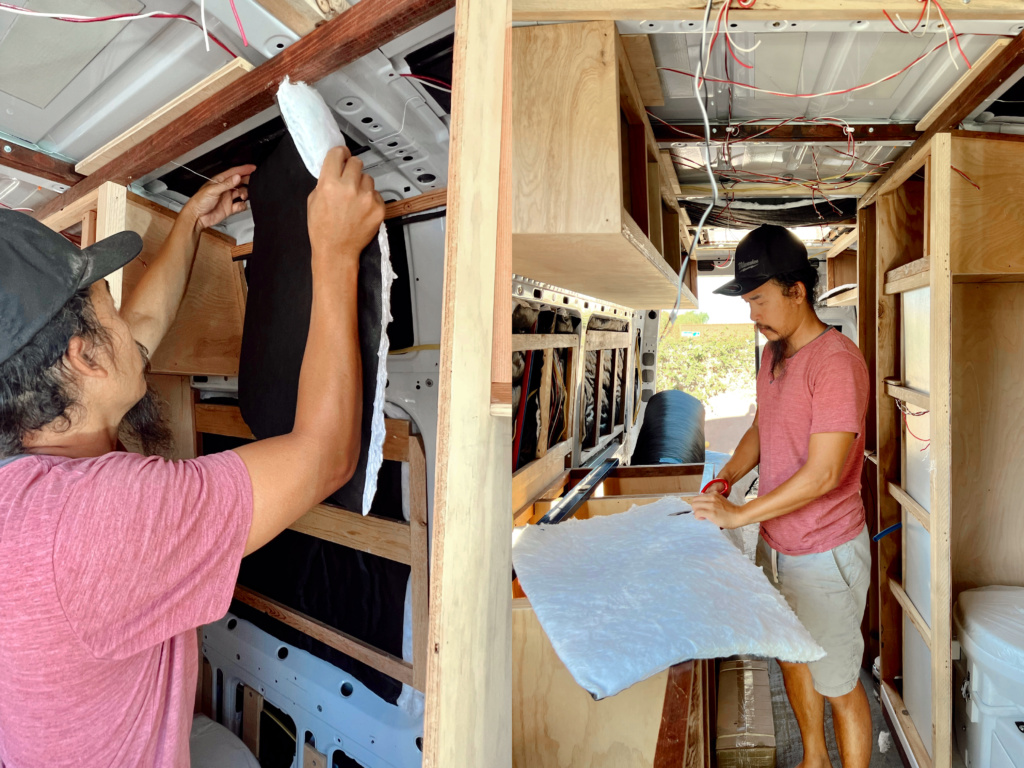
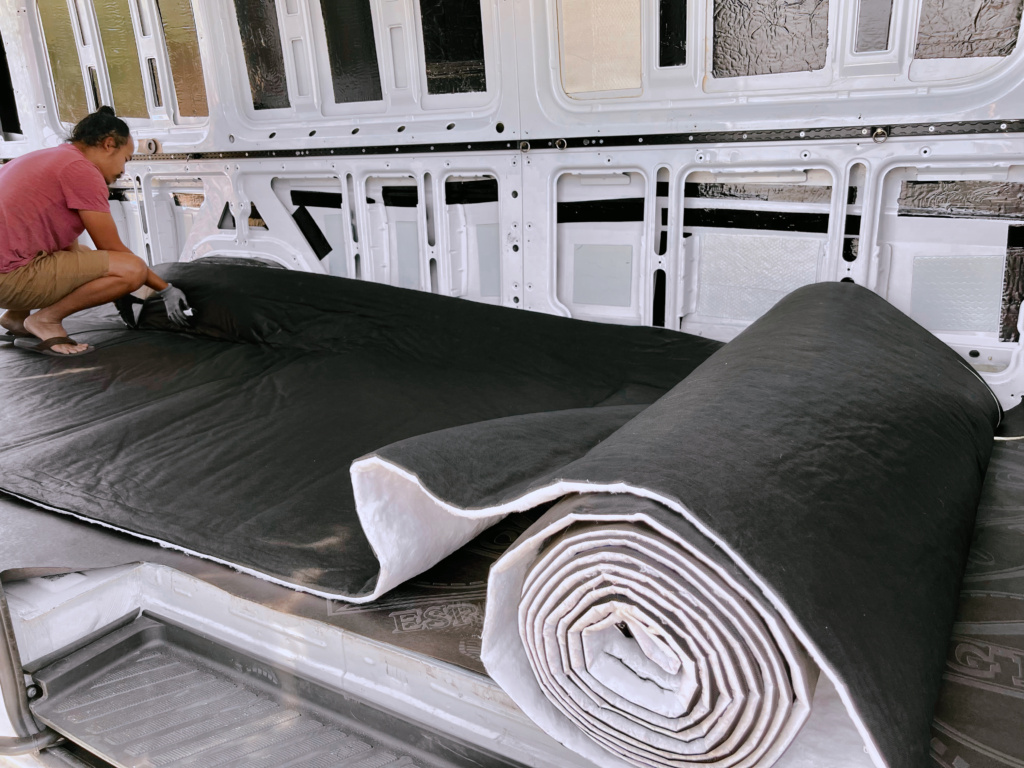
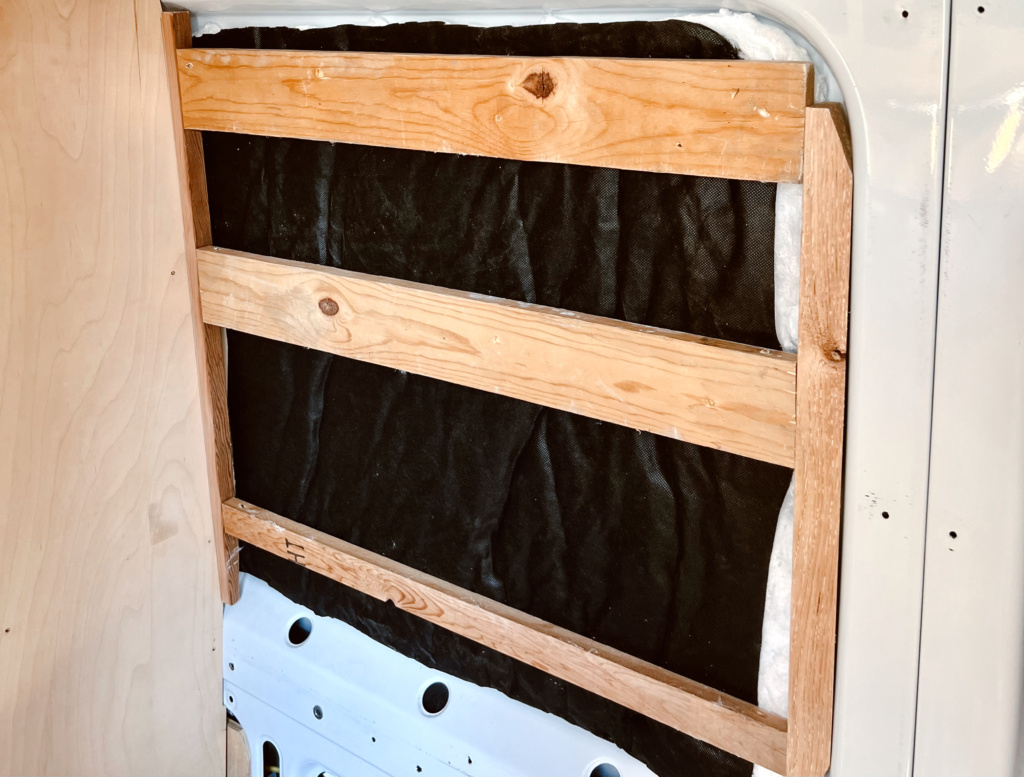
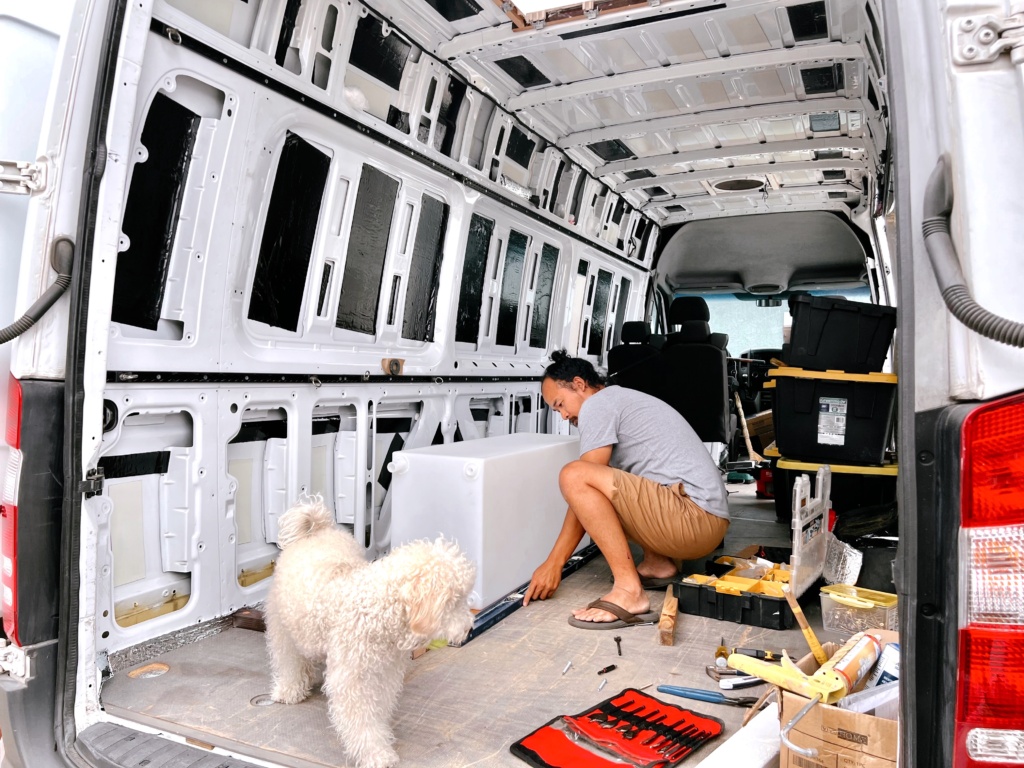
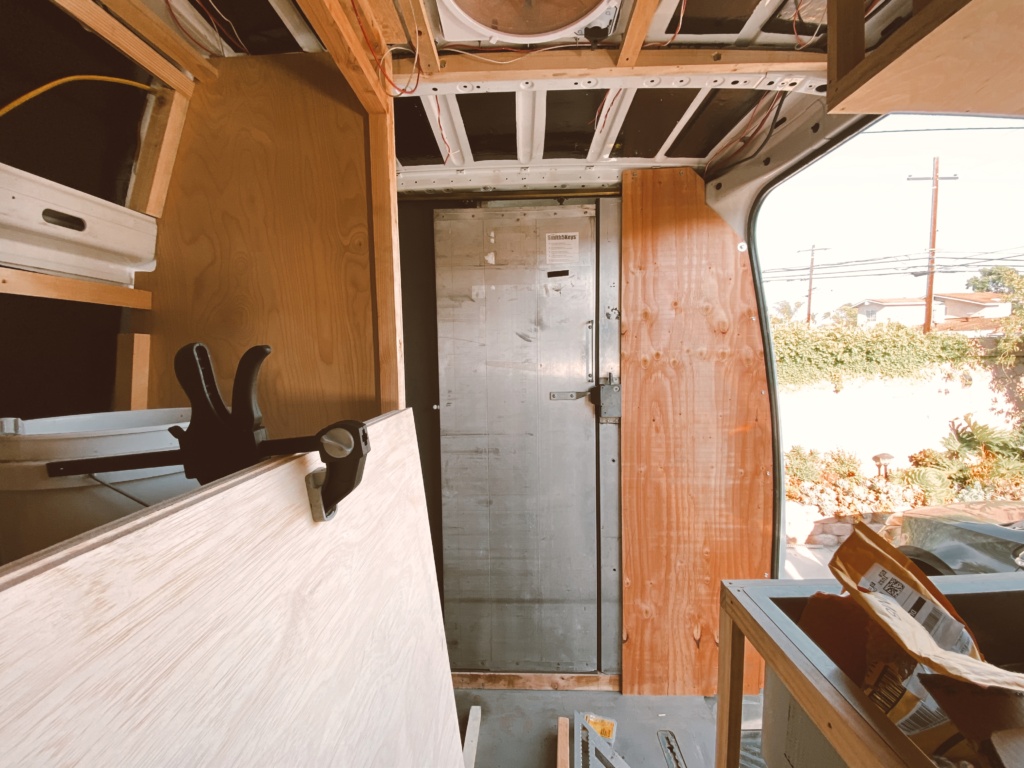
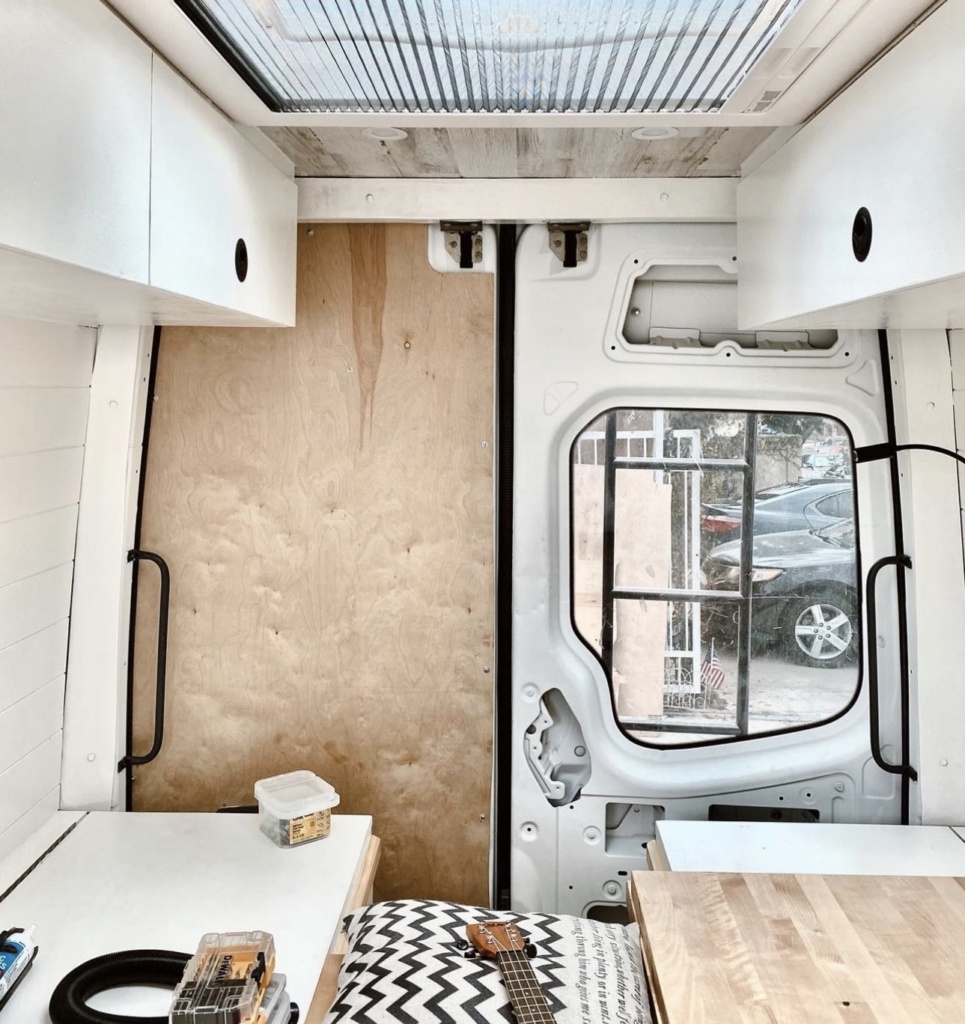
Most of van builders choose to apply 3M 90 spray adhesive to the van surface and on the white surface of the 3M™ Thinsulate™, then press the Thinsulate against the surface to keep it in place. We found this “glue” step quite messy; instead we decided to build the wood frame (which is the skeletal frame for our cabinets/benches/closet/bathroom later on) over the van’s metal body frame first and just slide the Thinsulate, piece by piece into the space between the wood frame and the metal frame; all those sturdy lumber bars will keep the Thinsulate tightly in place.
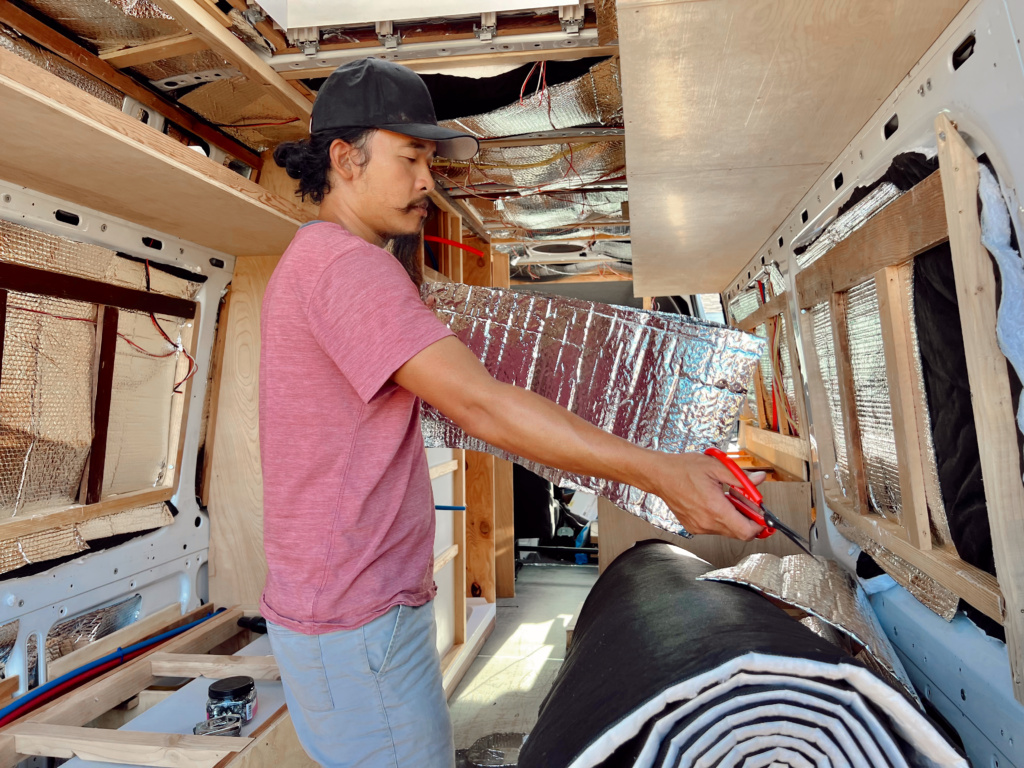
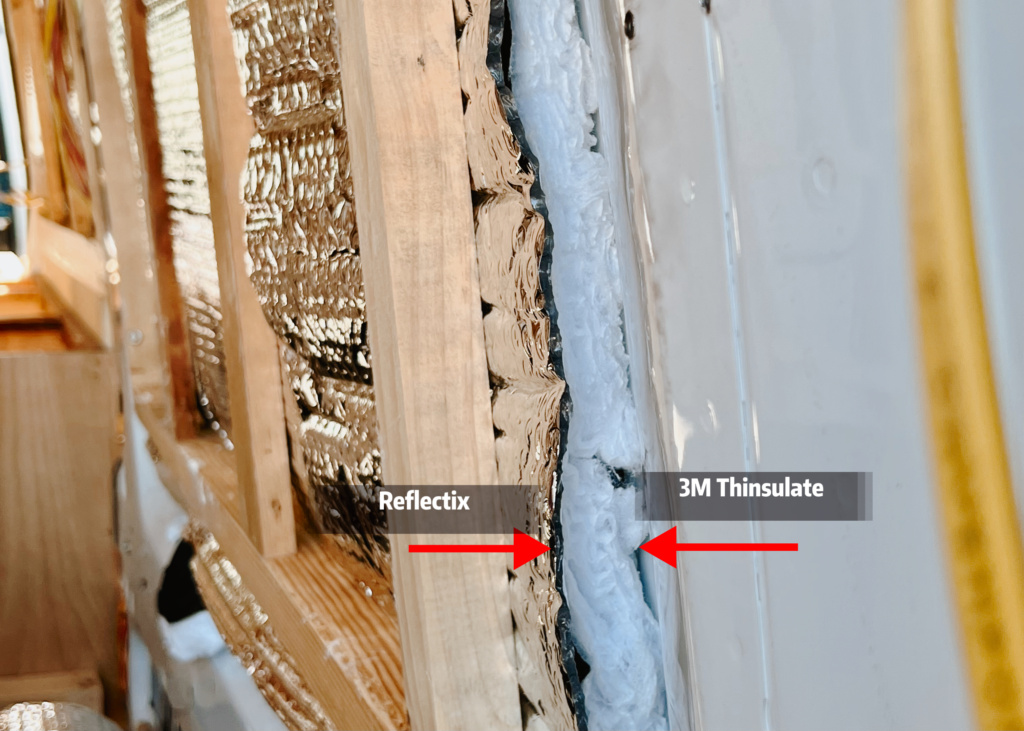
We also went an extra mile for our van insulation by adding a layer of Reflectix in addition to the 3M™ Thinsulate™. This stage makes your van look like a spaceship.
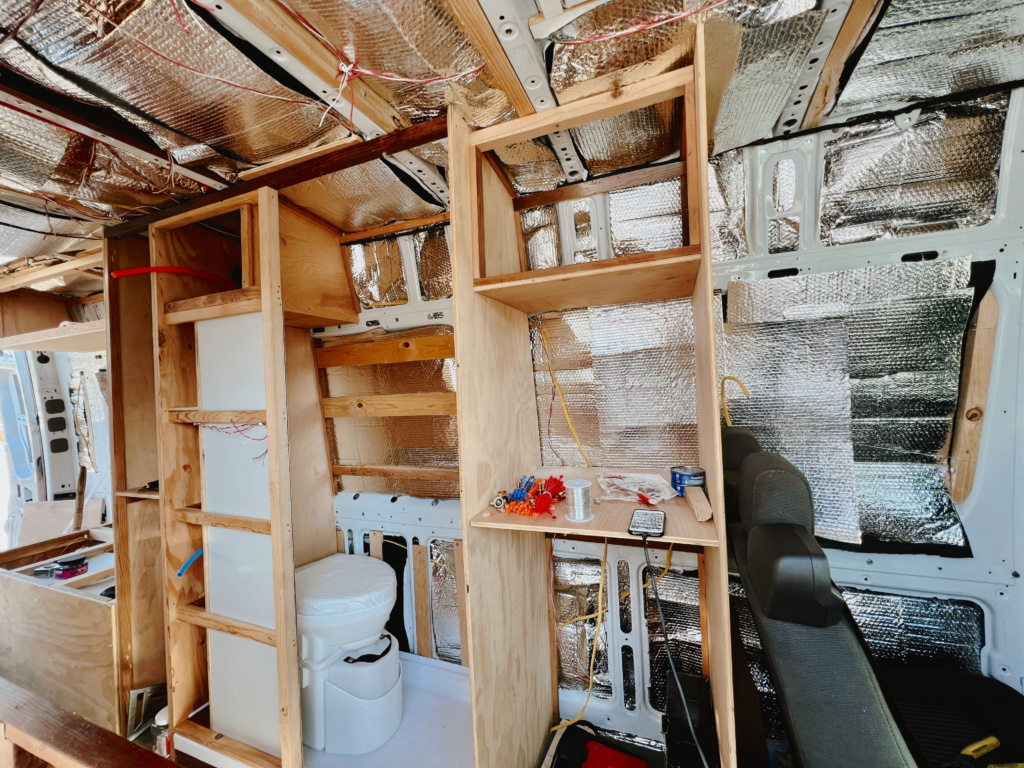
Overkill is necessary in this situation since good van insulation will keep you comfortable year round wherever your adventures may take you: hot, or cold. Proper van insulation helps with both, not just during the winter which is a common misconception.
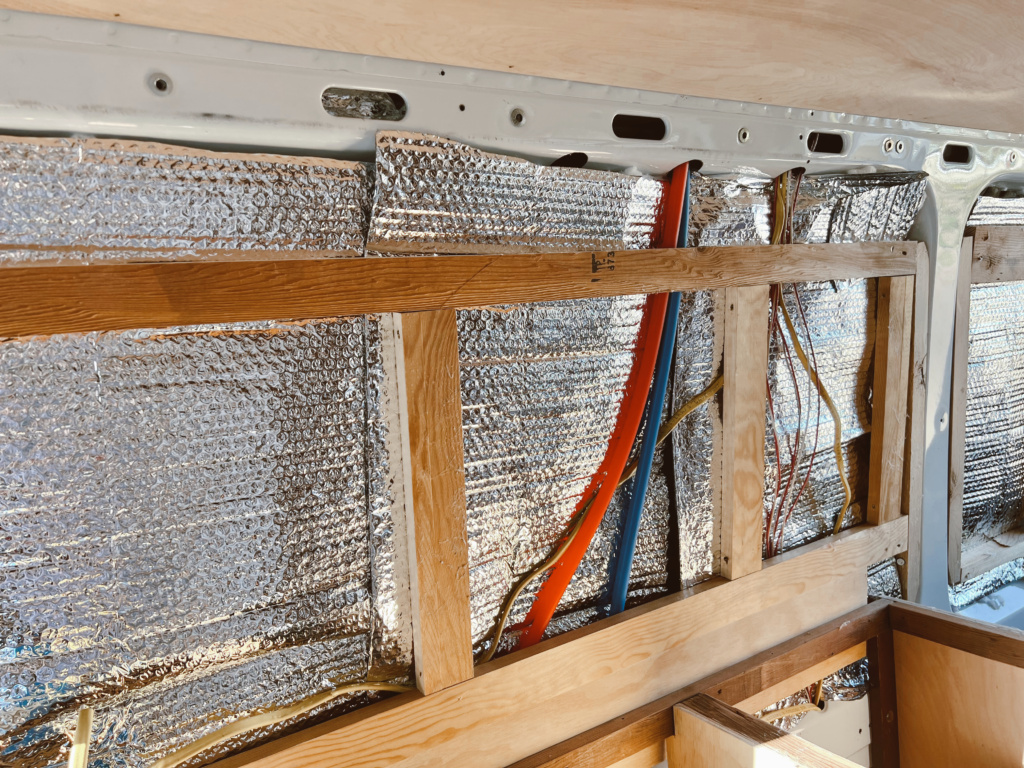
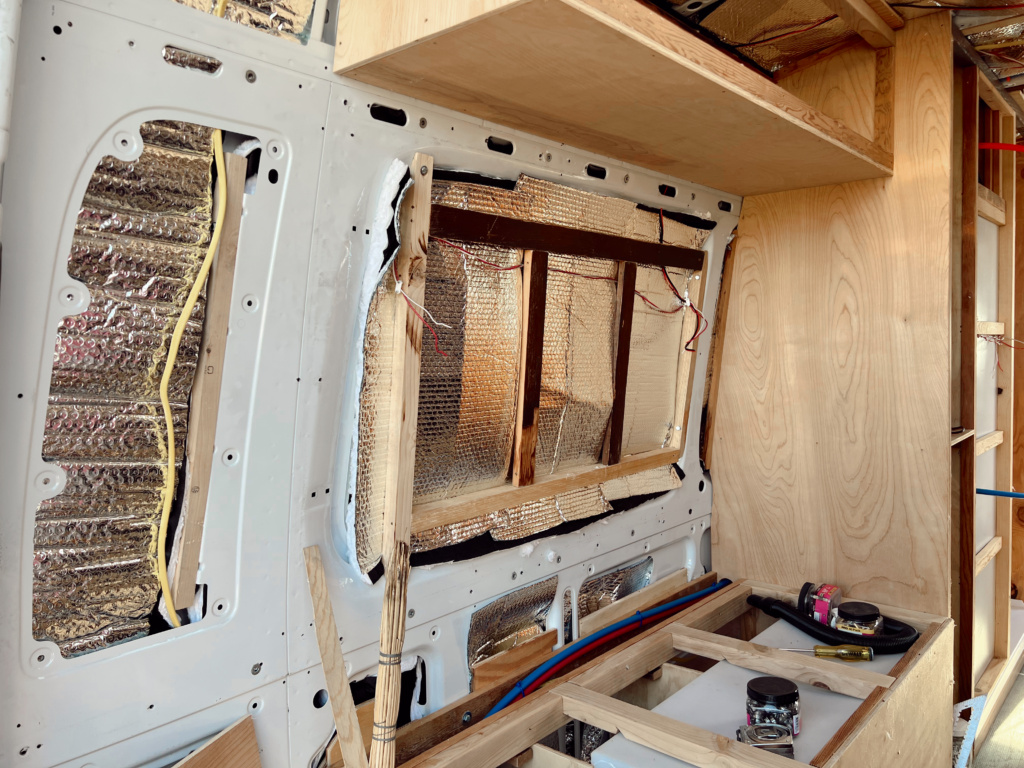
Reflectix is a popular insulation material for camper vans because of its powerful ability to reflect radiant heat. The material is essentially bubble wrap sandwiched between a reflective coating on each side. Because of the material’s ability to reflect radiant heat, Reflectix is often used as an insulation material for window coverings. The common mistake is adhering Reflectix straight onto the metal of a van and then adding another layer on top. Heat passes straight through the Reflectixfrom contact with the metal through conduction and makes it totally ineffective. Reflectix really needs an air gap to be effective. And when placing Reflectix over our 3M™ Thinsulate™, we had about 1/2 inch gap for the Reflectix to work properly.
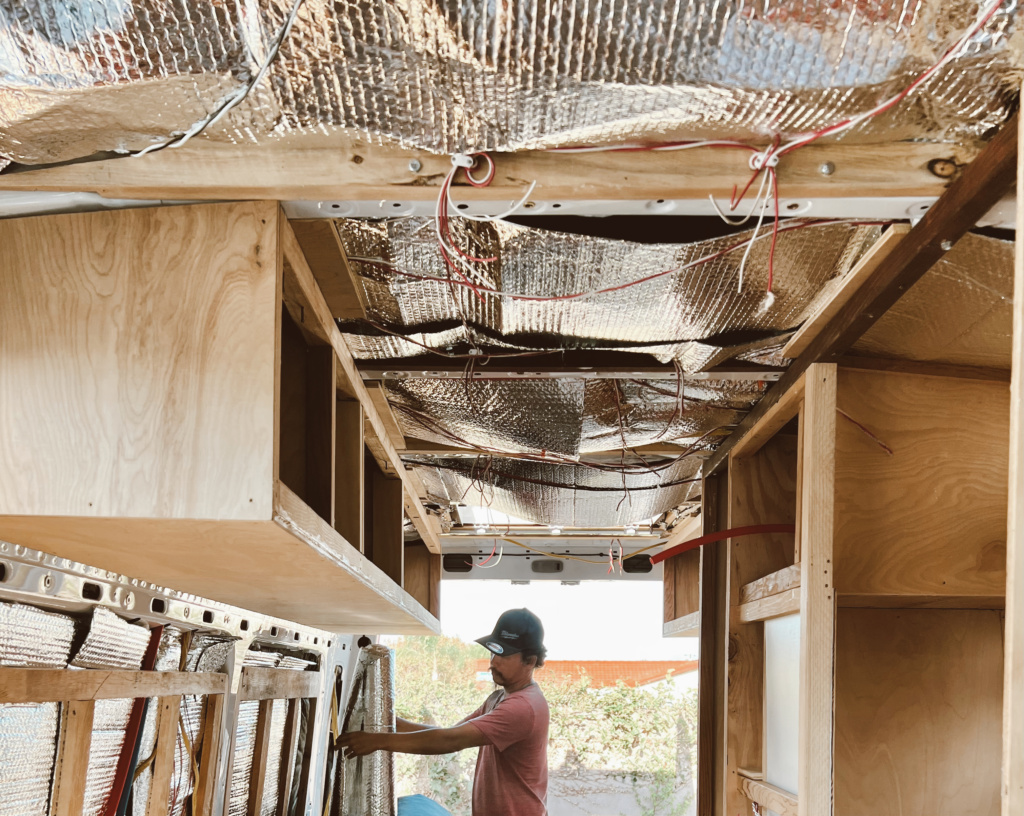
Ceilings
Just like with the walls, the van’s metal ceiling absorbs a lot of sunlight and dissipates the heat inside the van. Therefore, insulating the camper van’s ceiling is also a high priority. The process of insulating our van’s ceiling was similar to when we insulated our walls. First we slid the 3M™ Thinsulate™ across our wood frame. Next, we added another layer of Reflectix over the Thinsulate for a final layer of insulation.
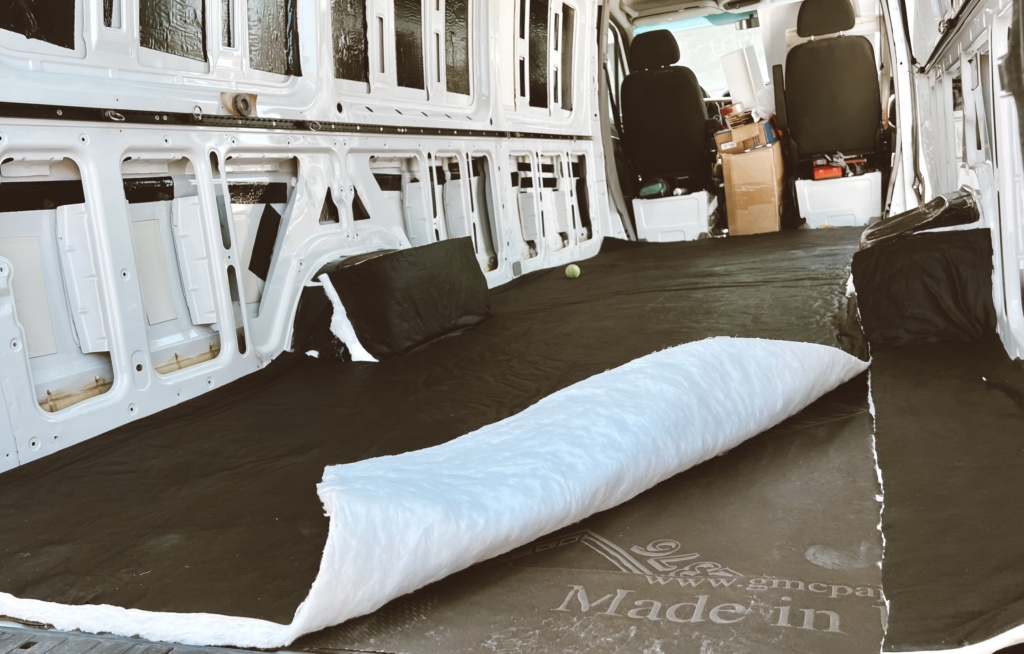
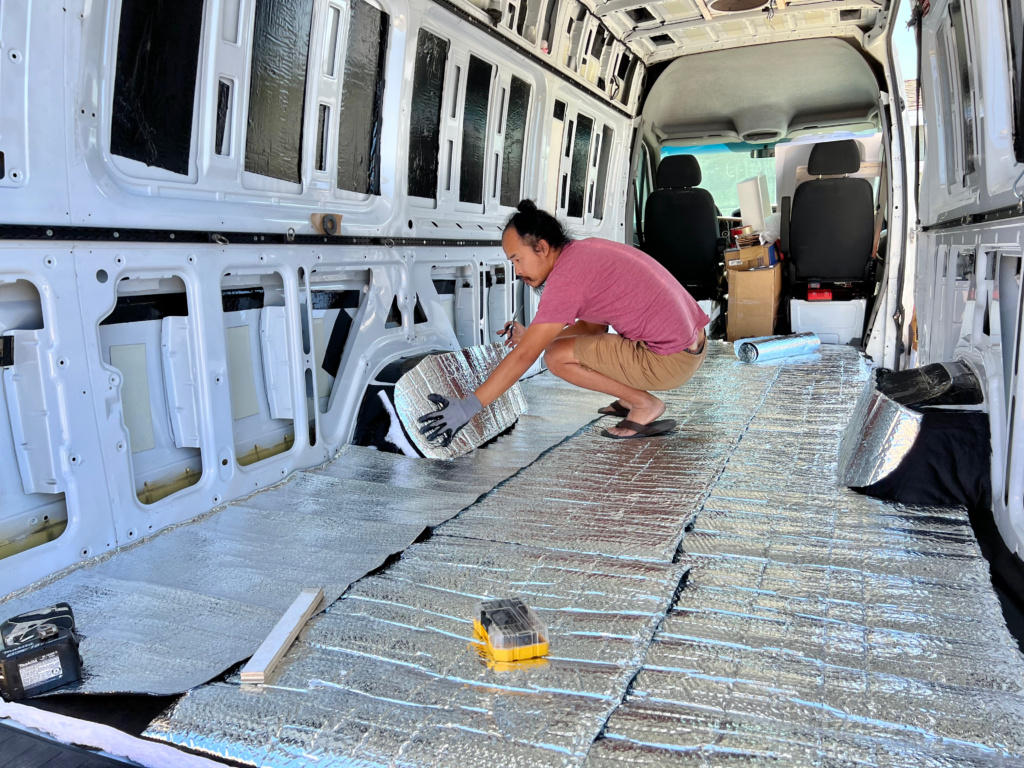
Floor
When people think about insulating a van, the roof and walls are the first areas that come to mind (the sun is hitting directly on those parts of the van). However, heat rises from the bottom of the van to the top. Also, in the winter that means very cold feet when you are walking around in the van. While most van resources say that you can safely skip floor insulation, insulating your van floor can make a huge difference in your comfort when you camp. In addition to helping to regulate the temperature, it will also add soundproofing to help cut down on external road noise and the empty sound. I wrote in detail how we layered and insulated our floor. Click here to read!
Plumbing system
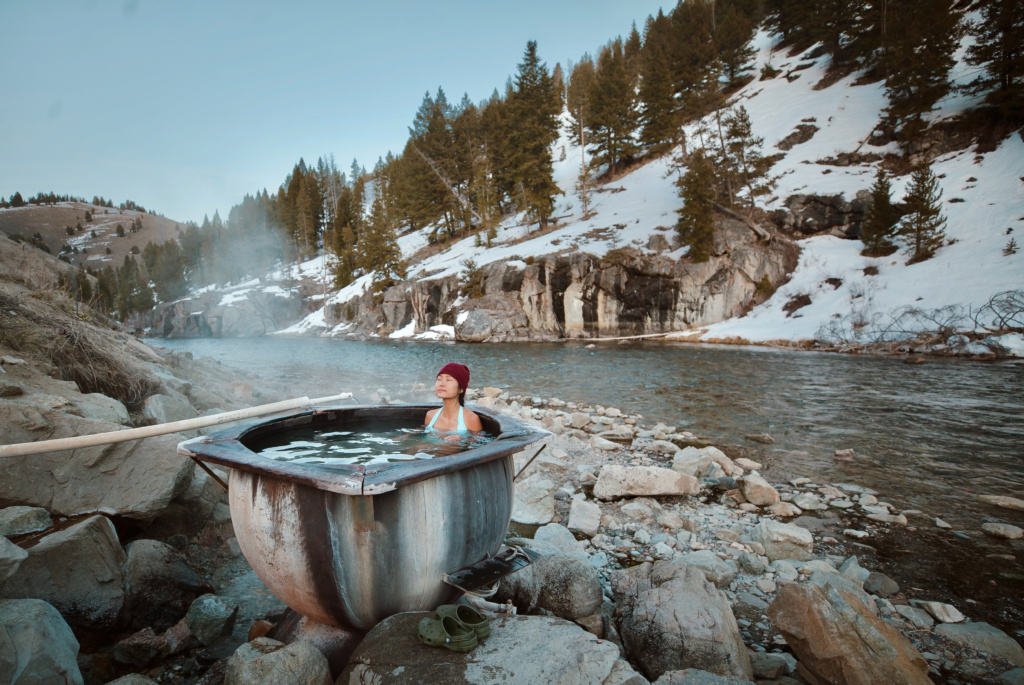
While some vanlifers follow the sun and warm weather, when winter hits we actively seek out hotsprings in high-altitude places. There’s nothing refreshing than the feeling of dipping into mineral natural hotsprings in winter time. Every year when Mammoth Lakes start to snow, we are ready to move in and camp in the Wild Willy’s Hotsprings for weeks. To make sure this was possible without freezing we designed our van with winter in mind.
Frozen water lines in a camper van are no fun. Not only can you not use your plumbing while the lines are frozen. But the freezing can actually cause serious damage to the lines. Some vanlifers do this by skipping water lines and bathroom setups entirely, opting instead for a countertop water jug and a pump. However, if you want to have a plumbing system that is much like the system found in a home or traditional RV in your custom van build, winterizing your water pipes is the very best way to ensure you don’t have to deal with damage caused by frozen water lines.
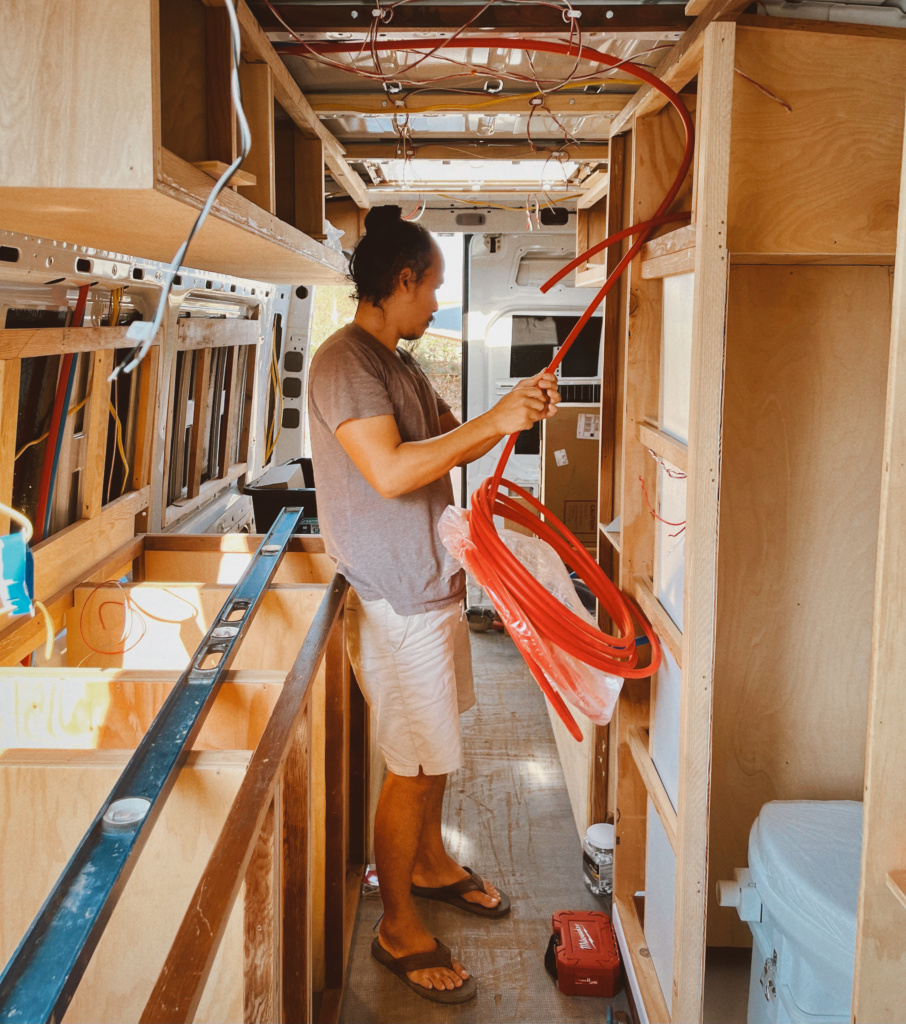
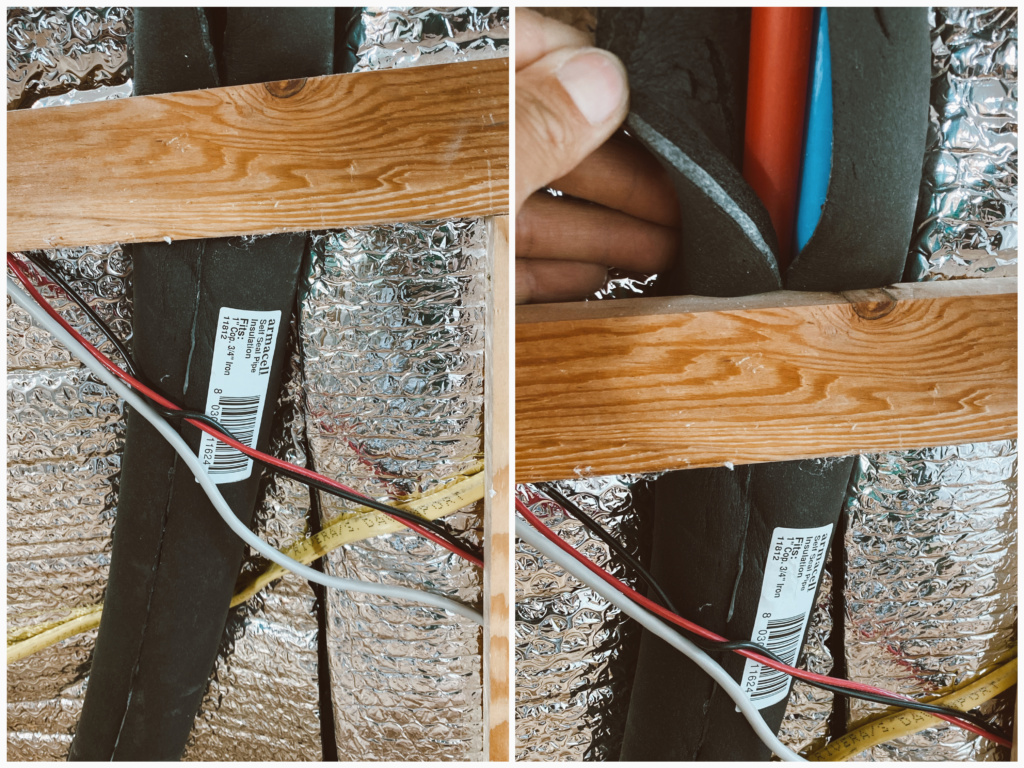
The first thing to “permanently” winterize our plumping system is ensuring all water lines installed inside our well insulated van. Water will freeze quickly if these pipes are installed outside. Then we wrapped all of our plumbing pipes in Armacell Self-Seal Pipe Insulation.
The second thing is to position all parts of your fresh water supply inside your insulated van; we have our tank under one of our benches. External tanks will freeze. We have our grey tank outside and so long as you empty it regularly when parking in freezing weather conditions you should be ok.
Other weak points for insulation
There are some other common weak points that you should be sure to insulate well including windows, front cab, and doors.
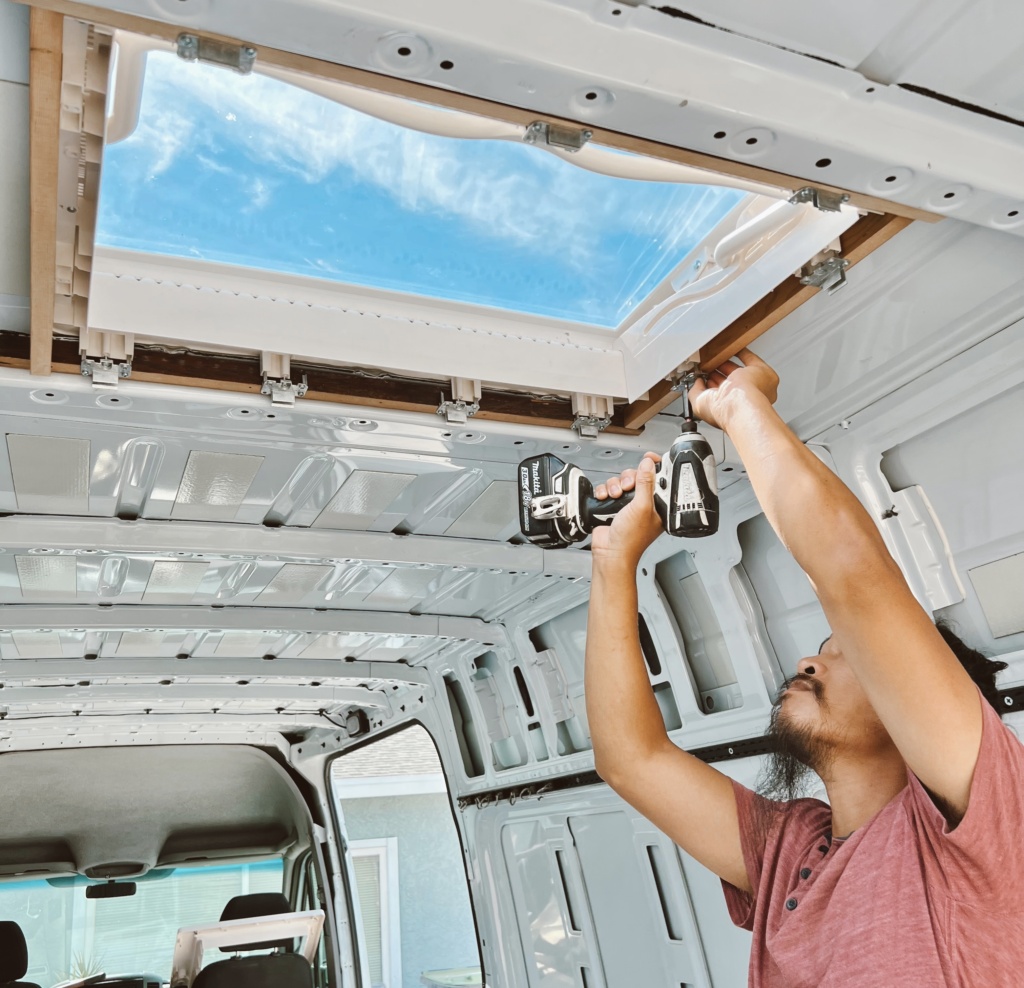
***Windows are thin and comprised of thermally conductive glass, so any windows in your van building will lose heat in both summer and winter months. This can be minimized by the use of insulated window covers, but then of course you lose the function of your window in the first place. Plus, we think it’s more obvious from the outside your van is a camper and therefore less stealth. For this reason, we decided against fitting this camper van specific windows, but we did want the extra light. So we opted to install a skylight. Best skylight for van conversion is Midi Heki skylight.
The front cab is an area of the van with lots of weak points as a result of the many windows and uninsulated side doors. If this cab is left open to the rest of your living quarters, the rear of your van will suffer the same fate as the front cab. To prevent this, consider closing off the cab area from the living quarters in back with either a solid sliding door or insulating blanket. Or you can purchase professionally made window covers from Van Made Gear.
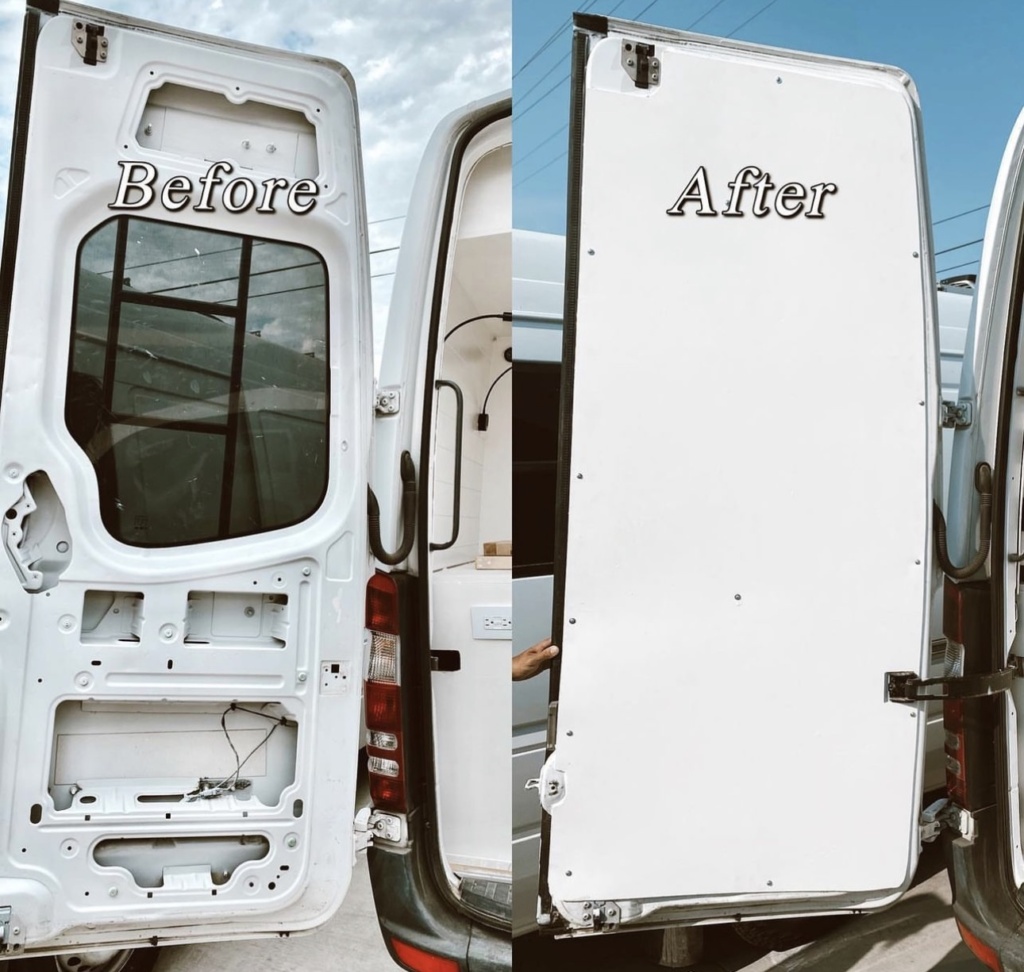
And make sure that you insulate your rear door and back doors as well!

1 comment
DIY CAMPERVAN CONVERSION: FLOOR, CEILING & WALLS – inAra By May Pham
March 9, 2023 at 6:26 am
[…] this stage we already finished insulating our campervan. And now it’s time to get started with the floor, ceiling and walls. This step really makes you […]
Comments are closed.