DIY CAMPERVAN CONVERSION: ELECTRICAL SYSTEM
It’s time to get the van juiced up! DIY-ing a conversion van electrical system is one of the most daunting parts of all van builds. With so many different components, wires, and calculations, it’s easy to feel overwhelmed when planning your camper’s electrical system! The “primary electrical” system is all the main components that make up the heart of electrical system: batteries, inverter, solar charge controller and so on.

In this blog post I’m going to attempt to condense all the most important things we learned and implemented in building our van conversion electrics.
Having off-grid electricity in our campervan is one of the luxuries that keeps us self-sufficient as we travel. We never have to worry about plugging in at overcrowded campgrounds which means more freedom to park our home in incredibly beautiful and remote places.

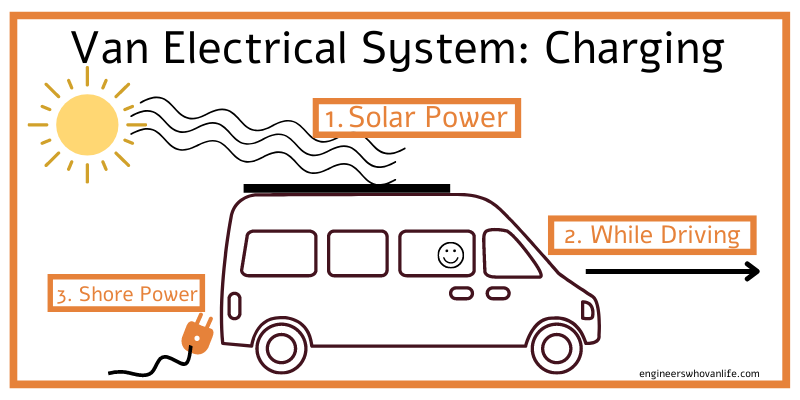
It’s easy to get overwhelmed when designing your campervan electrics. But when it comes down to it, the basic flow of a van electrical system is: you will have your batteries, how you charge them, and how you discharge them. You have batteries that can be charged in 3 ways: solar power, by driving, and shore power, and discharged by both AC and DC appliances.
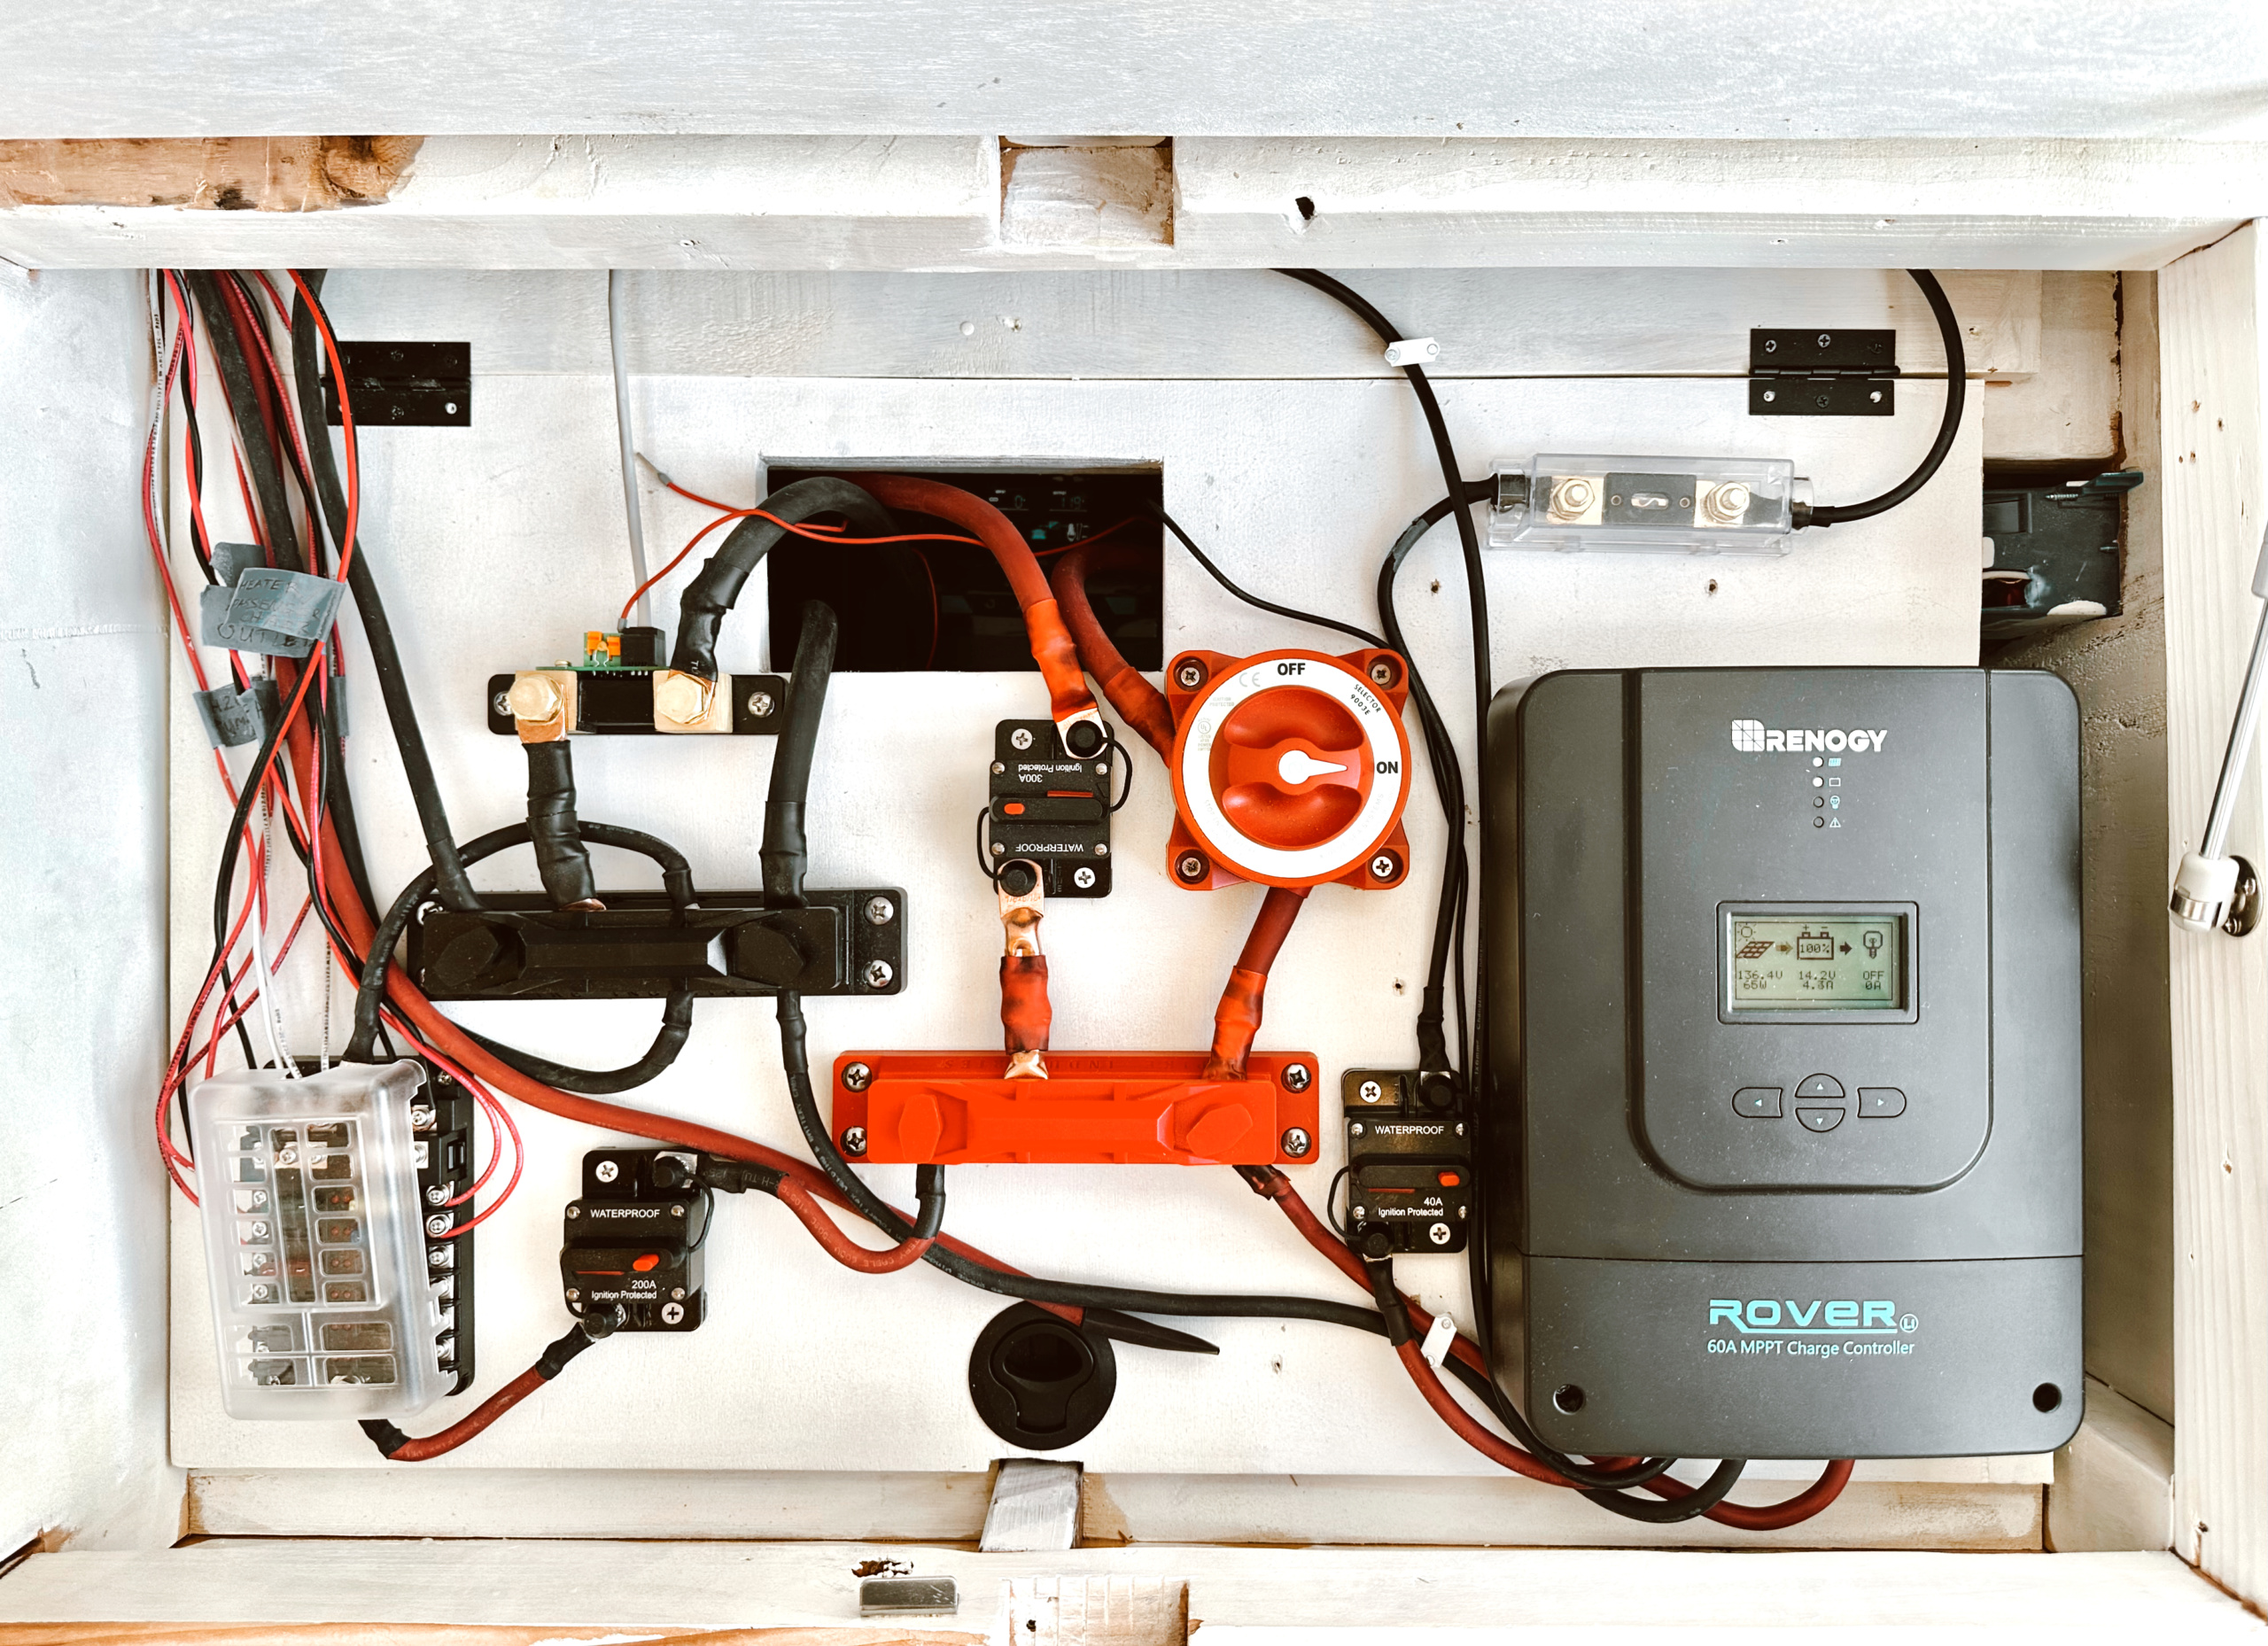
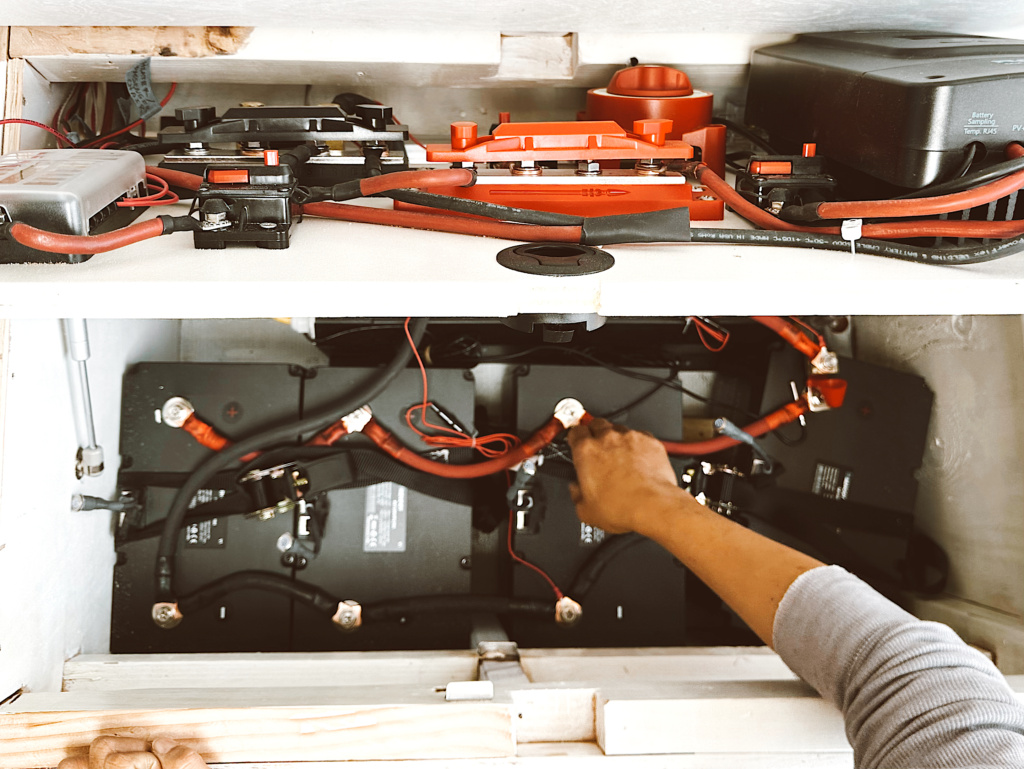
We organize all of the electrical together in a compact and tidy compartment under the bench in the bedroom area. An enclosed space is important because it will prevent any personal belongings from interacting with your delicate electrical system. The way we designed our electrical compartment is very convenient, making it easily accessible for daily cleaning/maintenance or any future electrical upgrade.
Here are our electrical components:
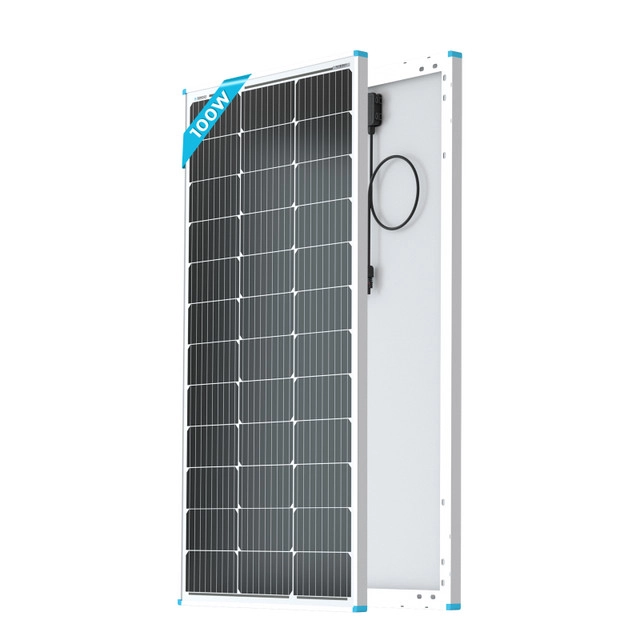
Solar Panels
In simple terms, the suns rays hit your solar panel(s) and it converts that energy into electricity that you can use to power devices, appliances, etc. With so many types and sizes of solar panels on the market, it can be paralyzing to know which panels to choose. Whichever you do select, make sure you’re getting the highest efficiency solar panels. We installed six Renogy solar panels, each 100 Watt. for this van build.
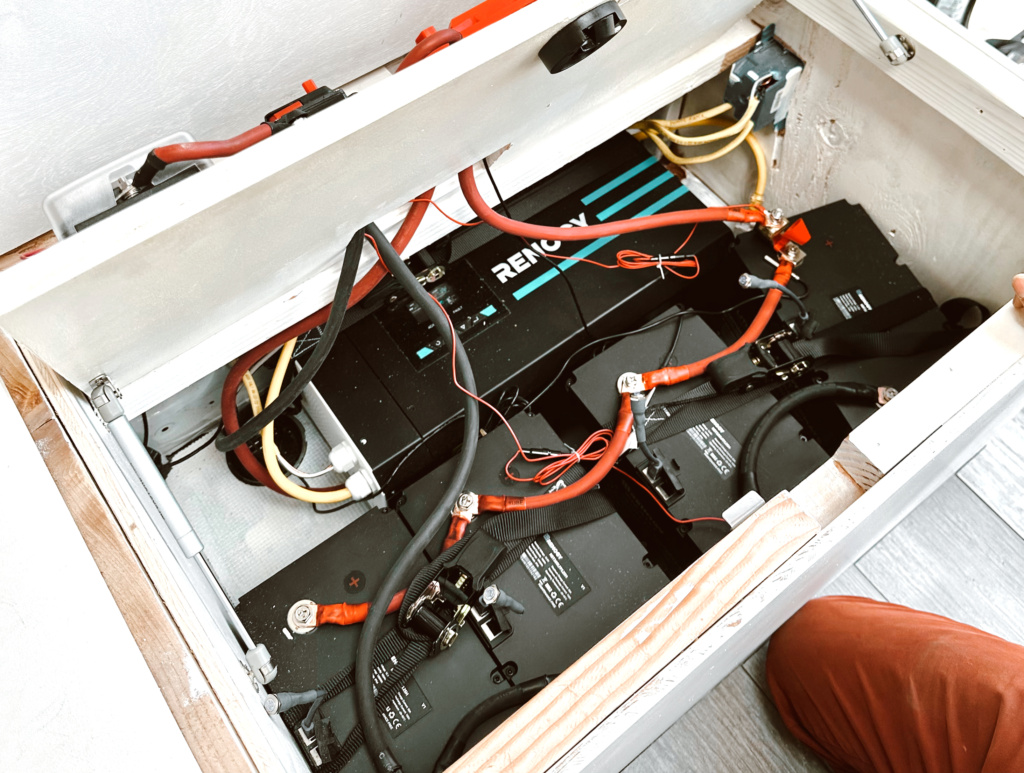
Battery
This first and most obvious thing to figure out for our van electrical system is how you are going to store power. The answer: batteries. The battery stores electricity so that you can use it on demand. Otherwise, you would only be able to use electricity when the sun is currently hitting your solar panels.
But what kind of battery, and how much power does your van need? Your first job here is to figure out how much power you will consume in a day living in your van (full time living or part time, how many household appliances are needed,…). And your second job is to determine what type of battery will work best for you (AGM or Lithium).
To calculate how much battery power you need to sustain your camper’s electrical system, list all your desired electrical devices, calculate daily power usage (Wh) for each device, calculate total daily power usage and determine battery size based on daily power usage. The average full-time vanlifers are happy with between 250-500 Watts of solar panels, and between 100-400Ah in usable battery storage.
Now that you know how much battery capacity you need, let’s figure out which batteries to buy. There are two main types: Lithium and AGM and the decision if often brought down to a few main points: budget, and battery life. AGM batteries are cheaper, heavier, and can only be discharged to half capacity before sustaining damage. Lithium batteries are lighter, more expensive, and can be depleted nearly 100% of capacity safely. For all of our van builds, we always use Renogy Smart Lithium-Iron Phosphate Battery 12V 100Ah.

It is important to note that you can buy multiple of the same batteries, wire them in parallel, and add the capacities together. If you need 400 amp hours, you do not need to buy one massive 400ah battery. You could instead buy 4x100ah batteries. So for this van build we installed four Renogy Smart Lithium-Iron Phosphate Batteries 12V 100Ah.
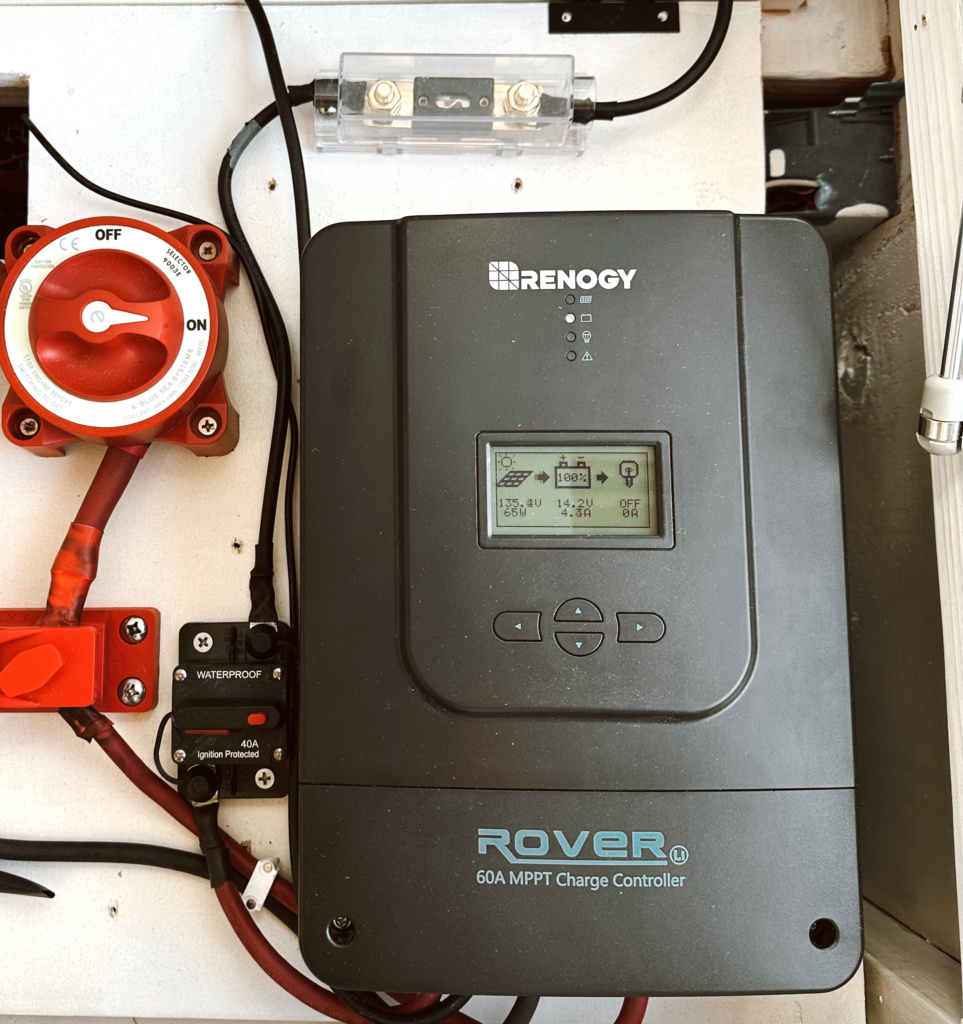
Charge Controller
Charge controllers regulate the voltage from the solar panels so that a battery can receive the solar power and charge properly. Without a charge controller, the solar panels will overcharge and kill the battery. For this van build we used Renogy Rover 60 Amp MPPT Solar Charge Controller.
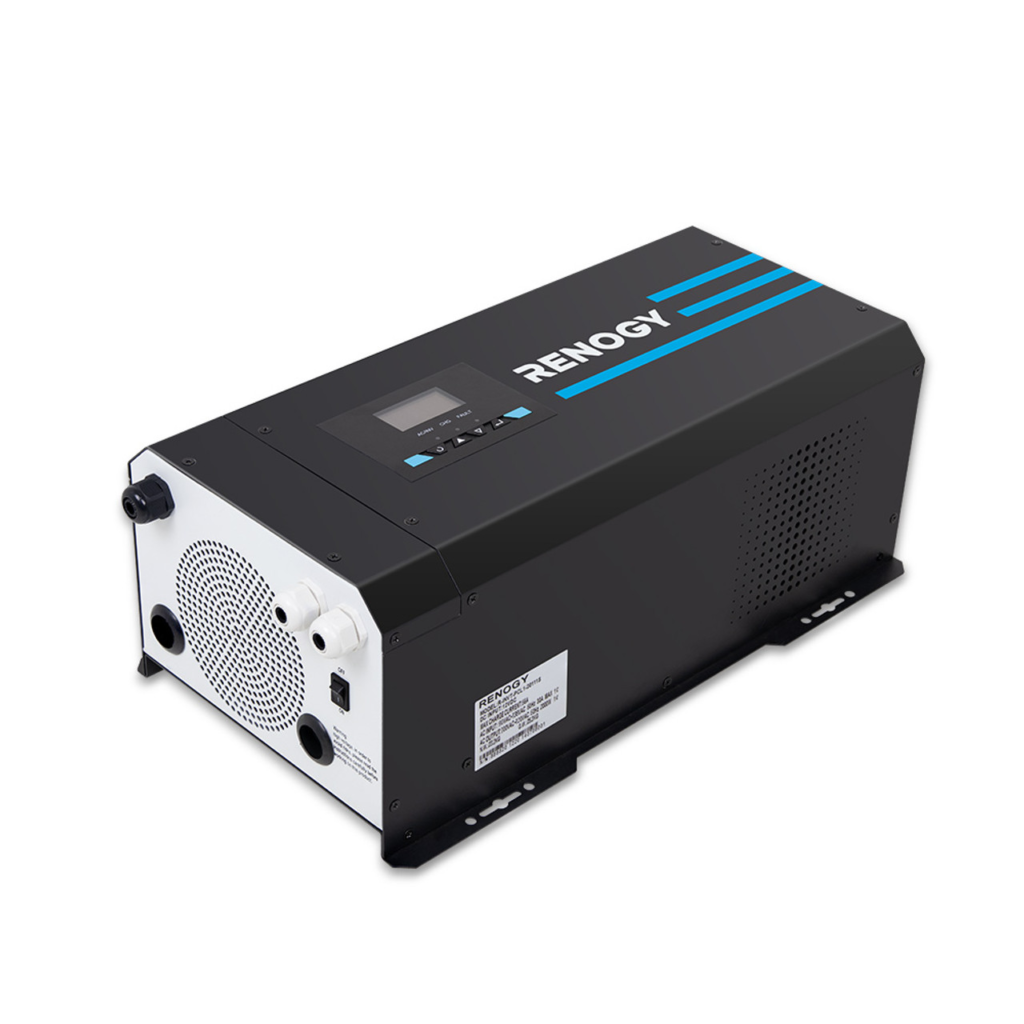
AC Inverter
Direct Current (DC) and Alternating Current (AC) are two terms that you should be comfortable with. For van electrical setups, you will have a battery that can provide direct current (DC), and anything that you connect to your battery will receive direct current. Alternating Current (AC) is the type of electricity that your local power plant supplies to all houses, offices, etc. When you plug anything into an outlet in your house, it receives AC.
The most common voltage used in van electrical systems is 12-Volt DC. The three most common things to run using 12V DC power are lights, vent fans, and refrigerators. Using DC to power appliances/devices will almost always be more efficient than AC, and you should try to run as many things as possible off of DC.
But some things cannot run on DC and need to have AC, for example, a blender or laptop charger. For those things, we need an Inverter to convert the 12V direct current (DC) into 120V alternating current (AC). 120V AC is the normal household power that comes from any outlet in your house. When it comes to inverters and inverter chargers, Renogy offers the most advanced solutions in the industry. That’s why we always choose Renogy Inverters for all of our van builds. For this build, we used Renogy 3000W 12V Pure Sine Wave Inverter Charger. With a conversion efficiency greater than 90%, adjustable 50/60Hz output, the inverter charger provides 3000W continuous power, and 9000W surge power to easily power your daily electrical appliances.
Fuse Blocks and Bus Bars
Fuse blocks and bus bars are ways to make power distribution easier. Instead of hooking all your circuits directly to the terminal of your battery, you would instead use a fuse block or bus bar to manage the load. Say you have a fridge, lights, fans, etc. that you want to power using your battery. If you tried to connect all those things directly to your battery, it would get messy quickly. The fuse box and bus bar keeps things much more organized.
For this van build we used the Kohree 12-Way 12V Blade Fuse Block. This fuse panel connects to all of our downstream 12V devices and allows for up to 12 device connections. In our van, we connect this panel to our: LED lights, Vent fan,12V fridge, Water pump, Diesel heater, and USB sockets.
Bus bars are power distribution and collection centers. By connecting your batteries to these bus bars, you can then connect all future downstream electrical components (e.g. the 12V panel, solar charge controller, & inverter) to these bus bars instead of directly to the batteries. We reccomend Pike Industries 400 Amp Solid Copper Busbar 4 Stud.
Master On/Off Switch
This master switch keeps you safe from electrical hazards when you are building and maintaining your electrical system. Whenever we need to add & remove components or touch any electric terminals, we turn the switch to ‘OFF’ to stop the flow of electrical current from the batteries.
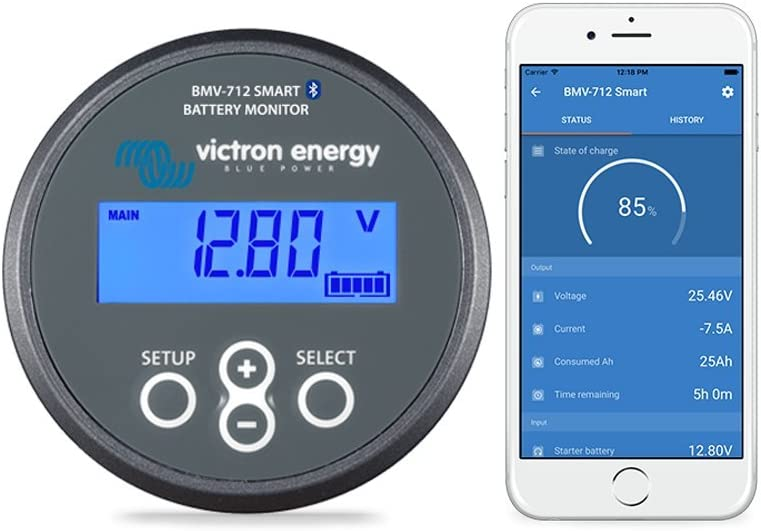
Battery Monitor
To keep track of the level of charge in your battery bank, you will need a battery monitor. While not technically required, a battery monitor is highly recommended to keep track of how much power you have so that you can keep them healthy.These can range anywhere from $15 to over $200. The cheaper ones usually only have a display that shows the basic current battery stats. And the more expensive models, like this top-of-the-line Victron Battery Monitor can connect to your phone via bluetooth and show you all kinds of advanced statistics. Although pricey, we recommend the Victron BMV-712.
DC to DC Battery Charger
There are three primary ways to charge batteries in a camper van.
- Solar Power | This method uses solar panels to convert the sun’s energy into usable power.
- Shore Power | This involves connecting a 12V inverter/charger to any outside wall socket. This is a great option for a quick charge if you happen to be located near a socket.
- Alternator power (while driving) | This popular method charges the camper batteries while you are driving.
The purpose of a DC/DC charger is to charge your batteries while you drive. The 12V DC to DC charger senses when you turn on your vehicle’s engine and begins to send power from your vehicle’s battery to your electric system’s battery bank. The higher the amp-rating, the faster the charge rate to your batteries. We used Renogy 12V 60A DC to DC On-Board Battery Charger for this van build. This is a great addition to any van electrical system, especially to help you get through the winter when solar power is not reliable.

We hope this guide helped you gain the confidence you need to tackle the electrical system in your DIY conversion van!
PIN THIS POST FOR LATER!