How to Install Scopema Seat Swivels on a Sprinter Van
One of the best ways to add square footage to a van is to use the front seats as a living room by installing swivel seat bases. We chose to install Scopema seat swivels from the Swivel Shop for our Sprinter (2015). The entire project was fairly easy, and the results turned out great. It’s definitely a game changer for increasing the livable area and adds flexibility to our van layout.

In this blog is our experience and information to get you started on your own installation.
What is a Swivel Seat?
A swivel seat is basically a really heavy metal plate that allows the seat (driver or passenger) to swivel 180 degrees so it’s facing the back of the van.
Is a Swivel Seat Necessary?
Yes! Rear-facing seatings have expanded the usable living space inside our van. In a tiny living situation we want to take advantage of all the extra space and seating that we can. So when things can work for multiple purposes, it’s definitely necessary!
Why the Scopema Swivel Seat?
There are quite a few different swivel seats on the market for the Sprinter. After doing some research, we decided that the Scopema by the Swivel Shop was the best for us for a few reasons:
*** Price: very reasonable
*** Easy installation process: it is easy to install Scopema swivel base as it weighs only 30lbs and is packed with an installation guide. The whole process only took us about an hour on each side. Also, the Scopema swivel base comes with a handbrake lowering bracket.
*** Acceptable added height: Seat swivels add height to the seat base! When that extra height to the passenger seat is added, it changes how one can sit in the seat. Short people could not sit with their feet on the ground. Taller people sit too high and bump their head on the upper shelf. Thus, the 7/8 in increased height of the Scopema was the lowest added height for a swivel seat.
*** Safety standards: The French-made Scopema swivels for the 2007-2018 Sprinter comply with European TUV standards. Other manufacturers of seat swivels make no mention of any sort of safety testing.
*** Sturdy design and smooth operation: You’ll enjoy smooth rotation with less friction, minimal wobbling, and no squeaking noises. The Scopema swivels are really among the highest quality seat swivels available.
Tools Needed to Install the Scopema Swivel Seat
- 7/16″ socket and driver to remove seat pedestal bolts
- #6 Allen wrench for the new seat swivel mounting hardware
- 16mm and 17mm sockets for parking brake hardware
- T50 torx bit to remove lower seatbelt mount from seat
Step-by-Step Instructions to Install the Scopema Swivel Seat
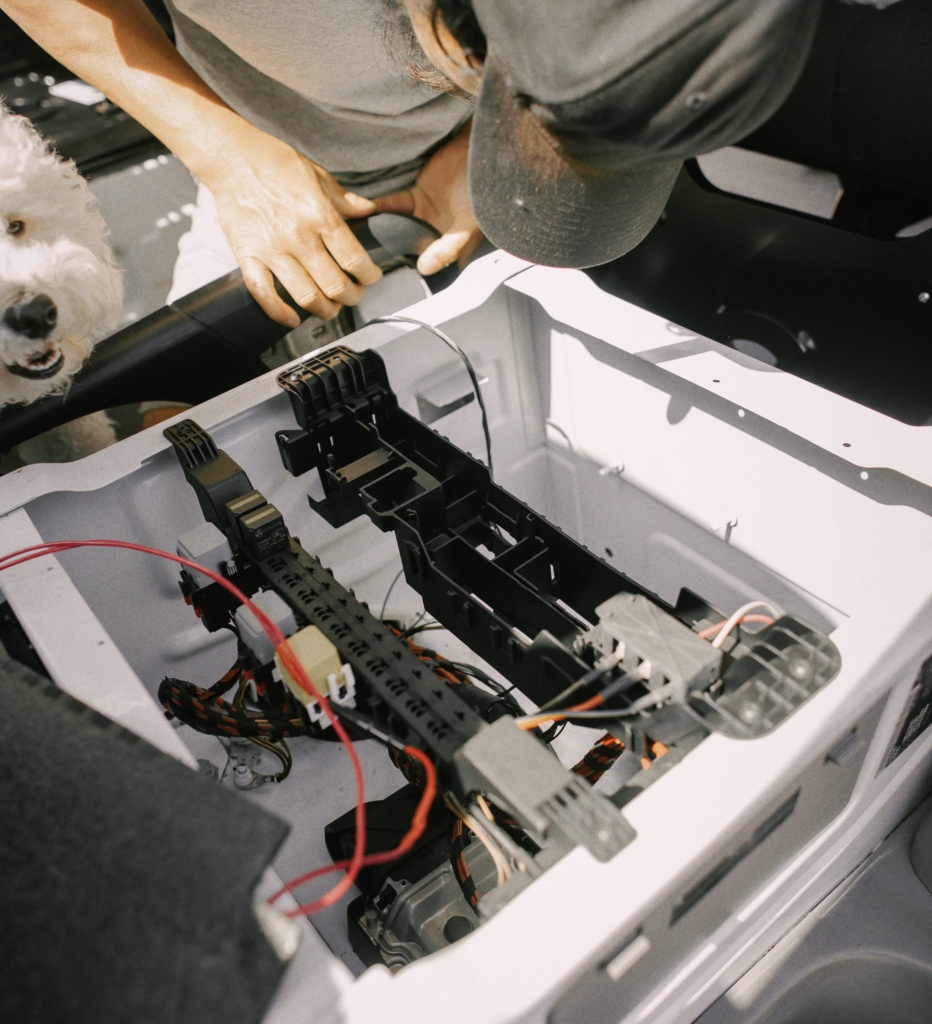
Step 1: Disconnect the Van Battery
Begin by disconnecting the electrical system on your van. On a Sprinter, this is done by pushing the red button on a plastic power post located down near the throttle pedal
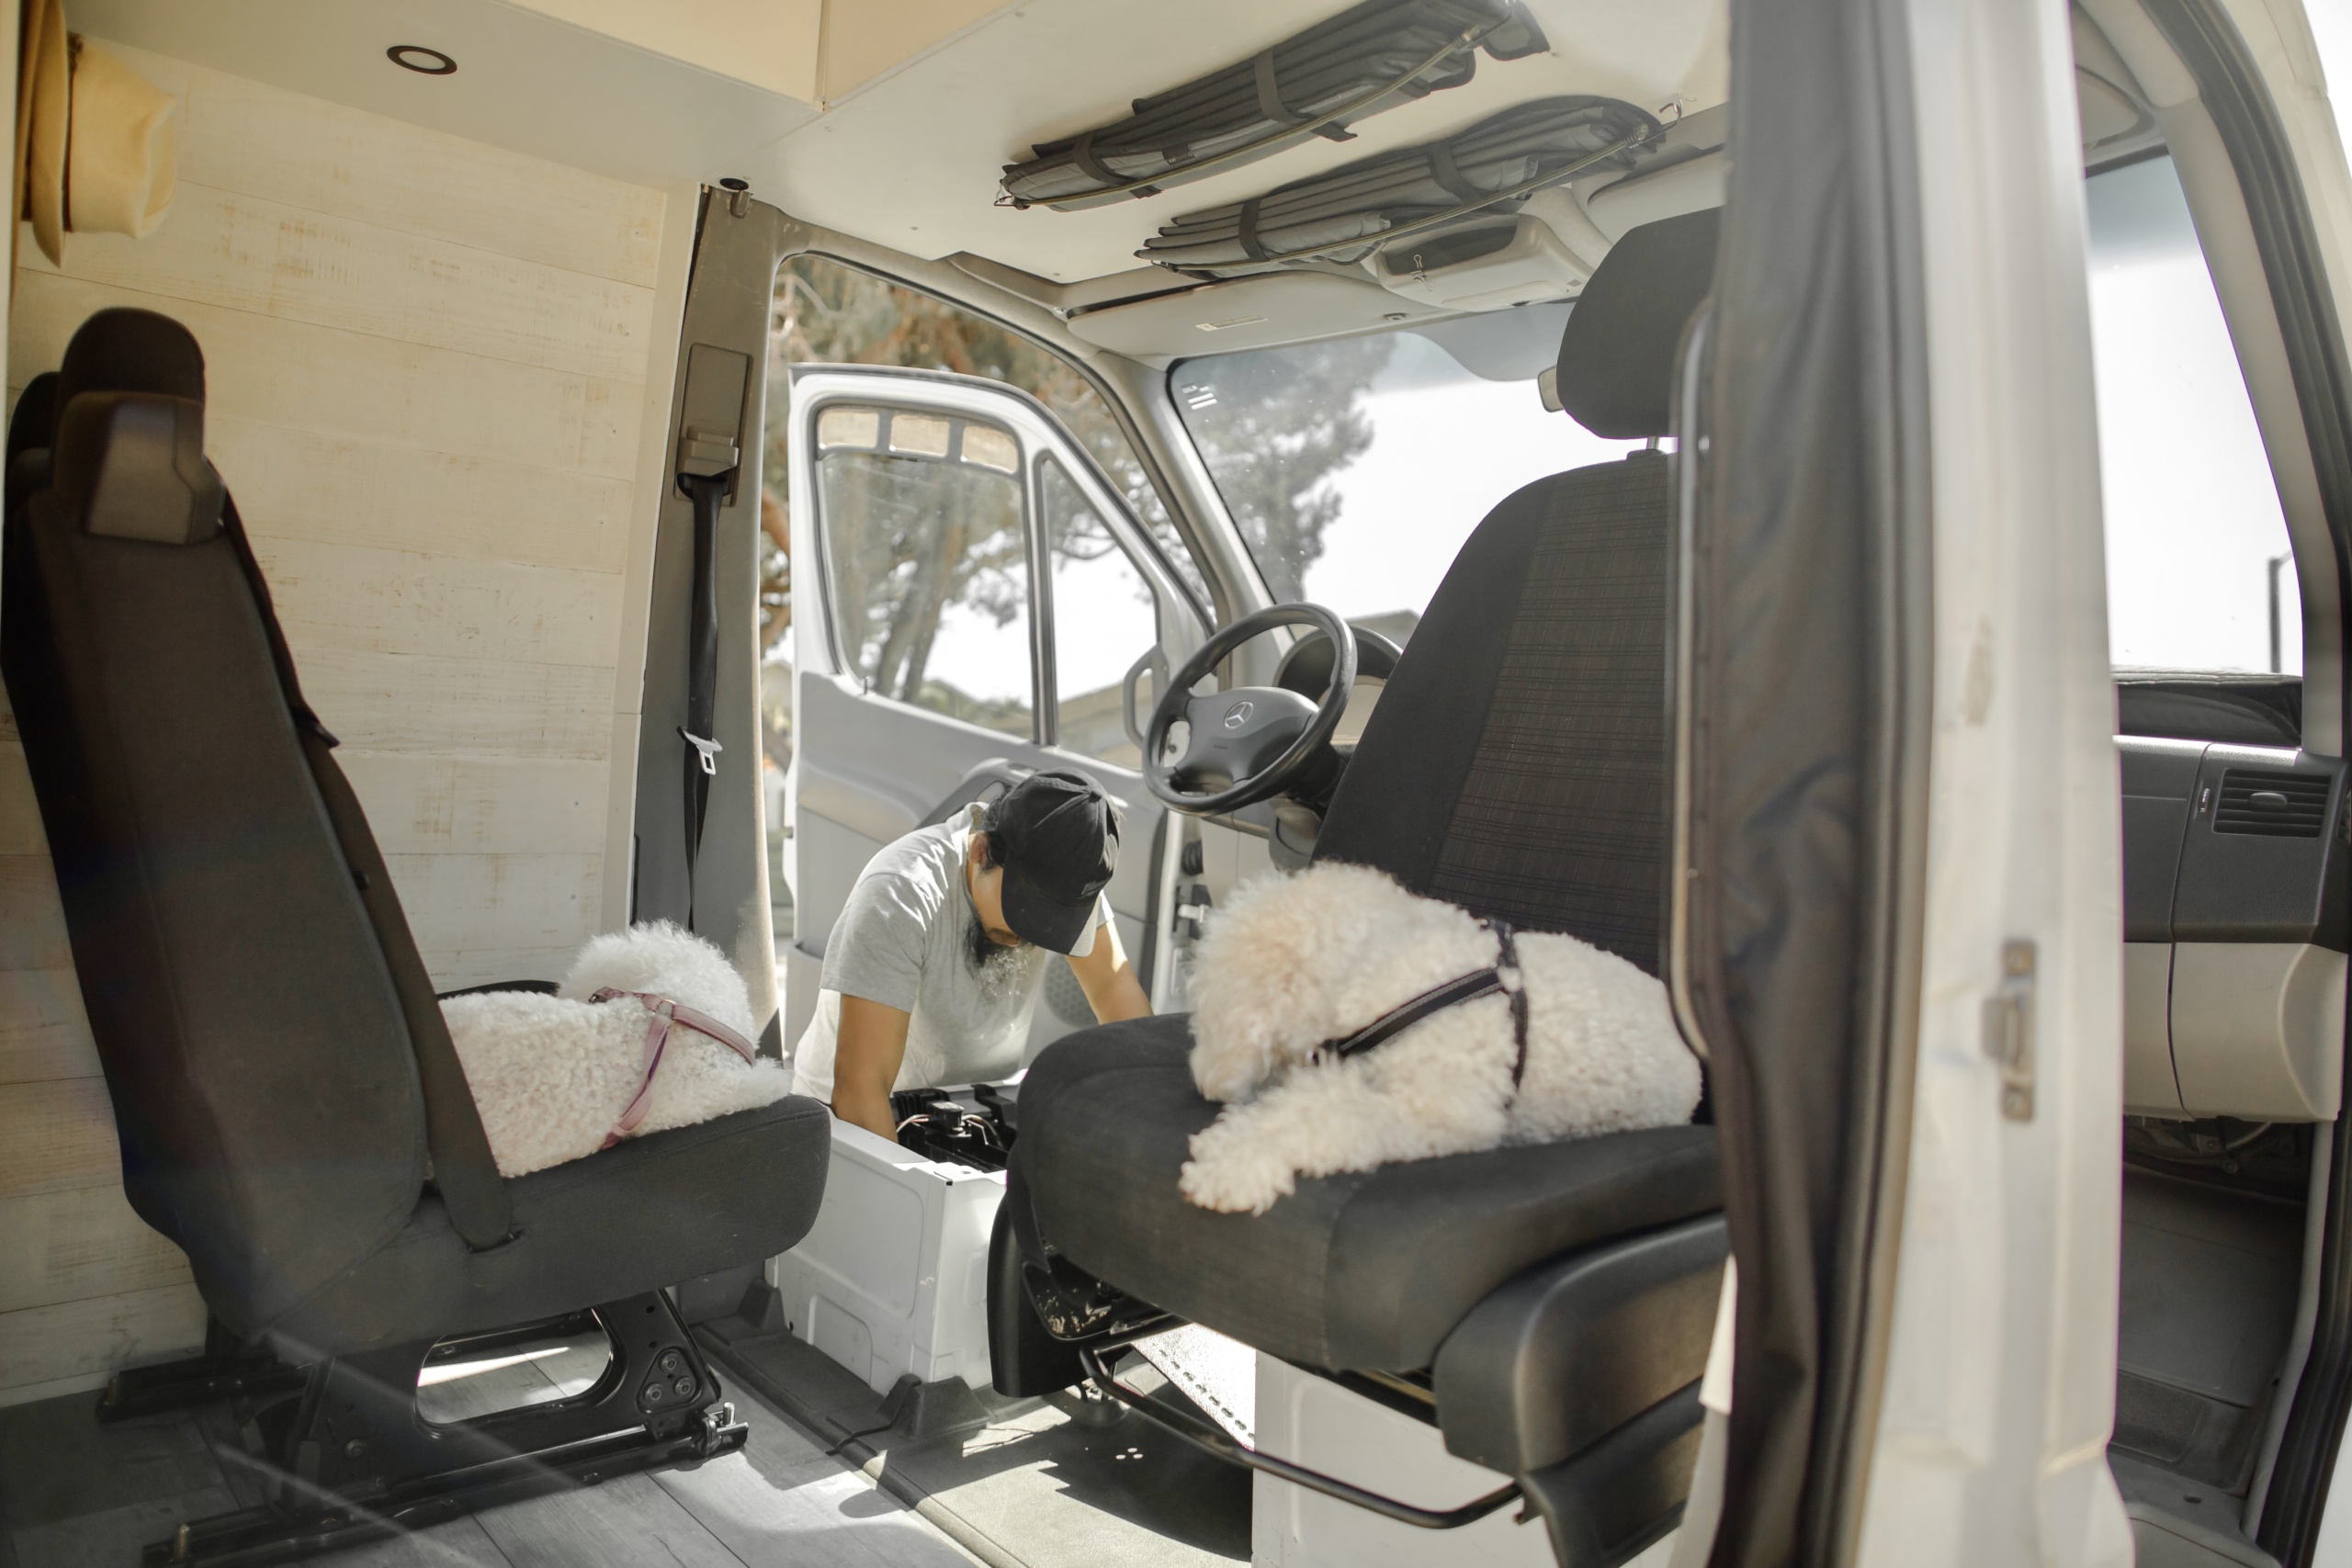
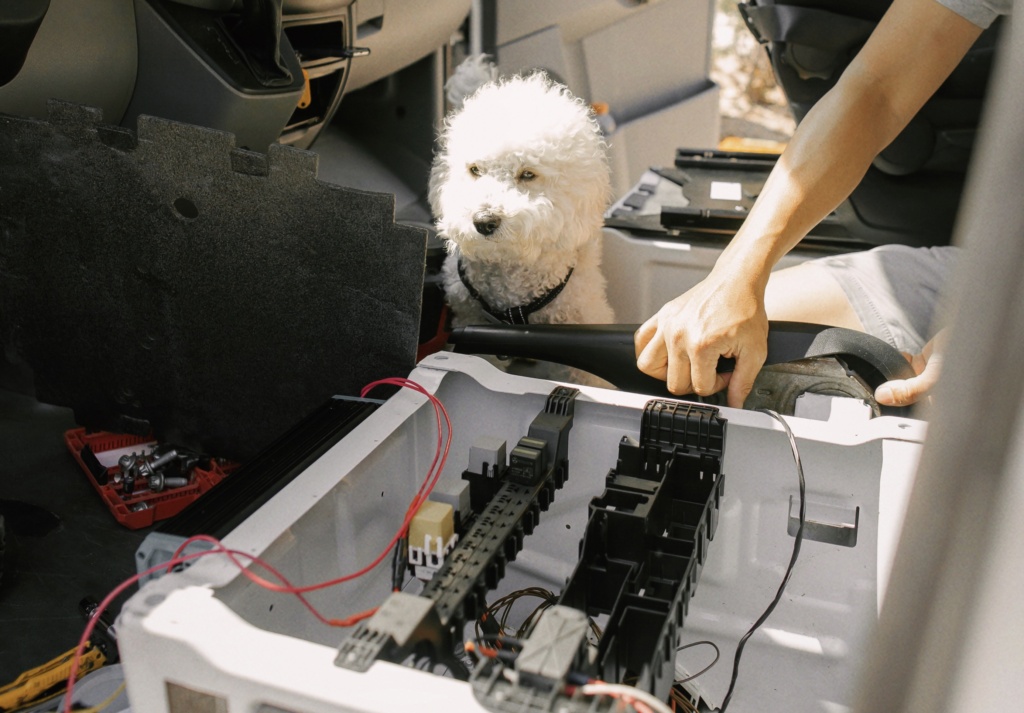
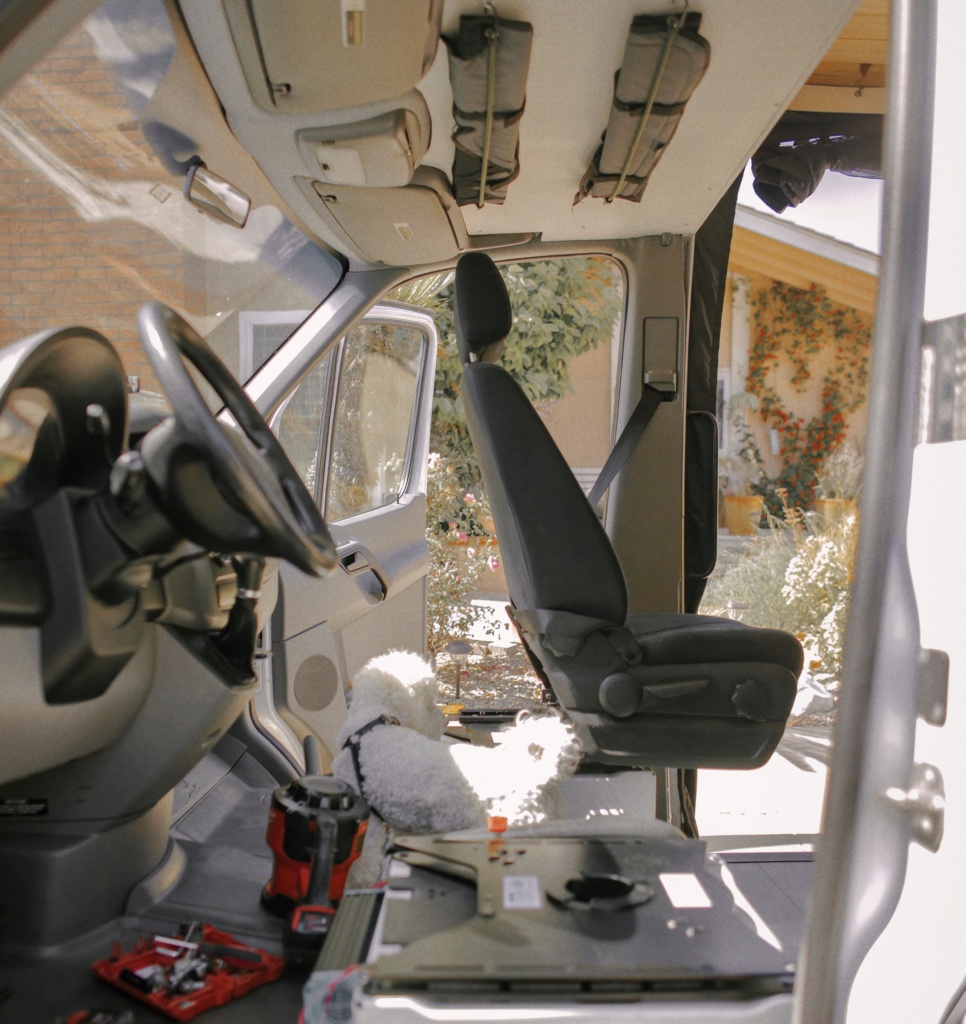
Step 2: Remove the Seats
This is a lot easier than it sounds. In our van, we only had 4 bolts to remove. To remove the bolts, we pushed the seat all the way back to access the 2 bolts in the front of the rail. Then, we pushed the seat all the way forward to do the same for the 2 bolts in the back.
*Be aware of the wiring that exists underneath the seat, which is for the airbag. This will need to be disconnected before you can fully remove the seat.*
Step 3: Install the Parking Brake Lowering Package (only on the driver’s side)
On the driver’s side we must install a bracket to lower the parking brake handle. Without this hardware the seat swivel would contact the parking brake and not allow it to swivel. Use a 16mm socket to remove the two bolts that attach the parking brake handle from its assembly. The supplied parking brake lowering bracket can be bolted to the seat pedestal mounting bracket using the supplied #6 Allen bolts.
*** For our van, we don’t need to trim the plastic skirt.
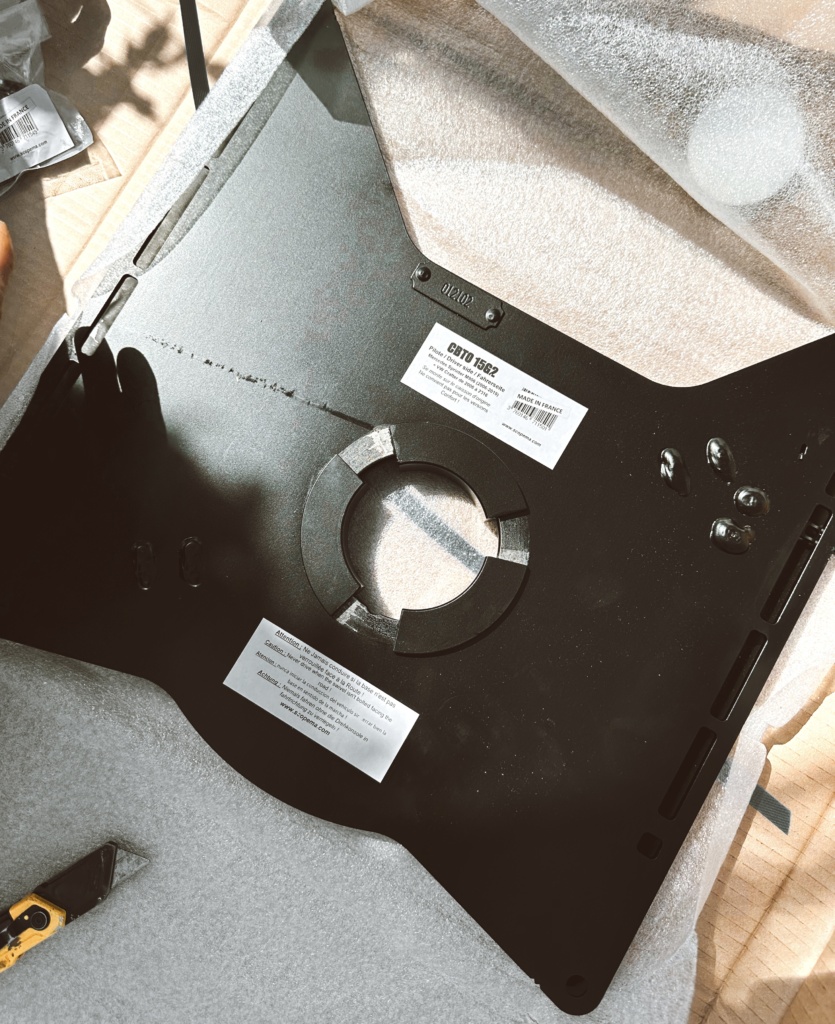
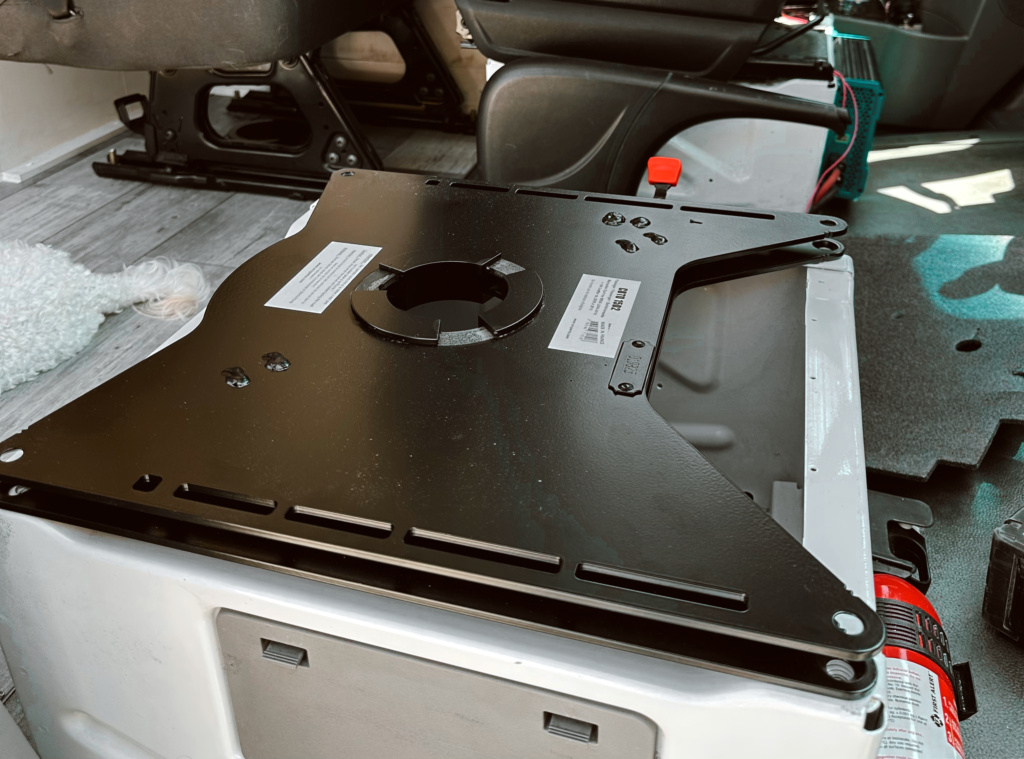
Step 4: Install The Swivel Base To The Seat Base
Installing the swivel plate or base is easy since the holes match the ones on your seat base. Align the gaps with the ones on your campervan, then tighten the swivel plate using the bolts packed with it.
Step 5: Connect Back the Seat
Using the supplied hardware, push the four mounting bolts up through the seat swivel and through the seat track. To ensure the seat is firm, tighten the bolts completely. Once all four corners are bolted down you’re nearly done! Reinstall the lower seatbelt mount to the seat and reconnect all disconnected cables.
Check out our installation video here!
Final Thoughts
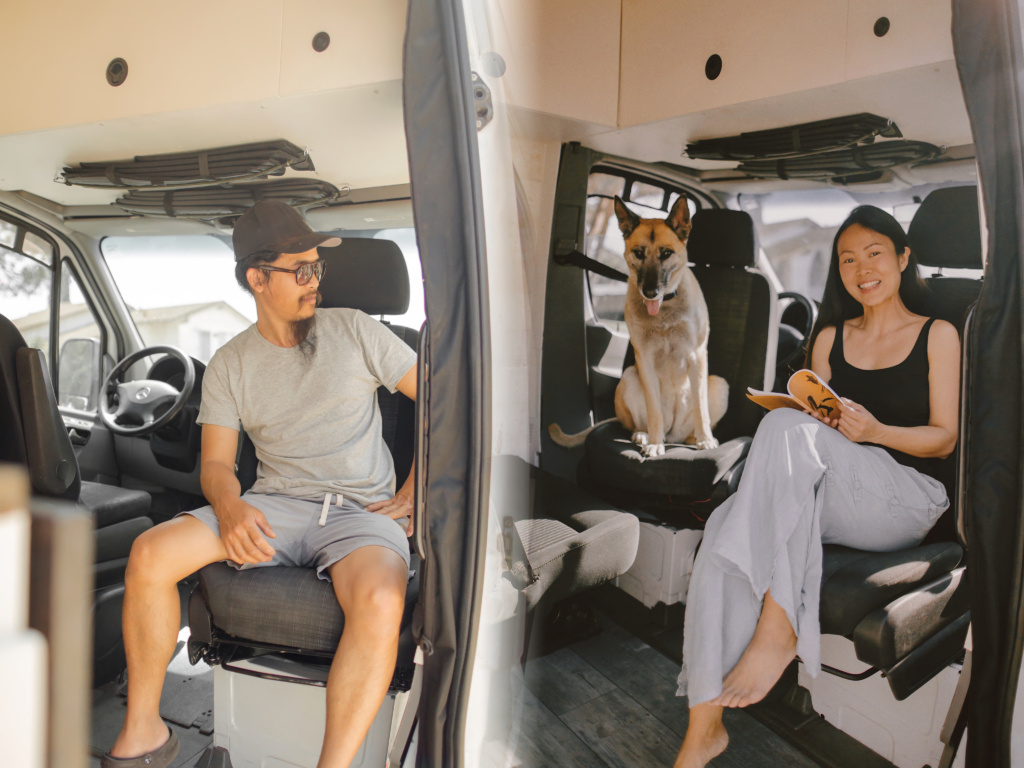
We love our swivel seats. I am 5’4″ and my feet can still reach the ground in the front and back. And it’s not hard to install a swivel seat at all! In the grand scheme of the whole van conversion installing the swivel seat should be one of the easier projects. With swivel seats, you will enjoy more space in your campervan and make it easier to access the back of your recreational vehicle once you stop. It allows you to switch from “drive mode” to “house mode” simply by facing the opposite direction. Turn your van seat into a swivel seat and enjoy driving, chatting, or reading a book with the swivel seats.
***Thank you to the Swivel Shop for kindly sponsoring this post. All opinions are 100% honest & completely my own.
PIN THIS POST FOR LATER